Quick Links
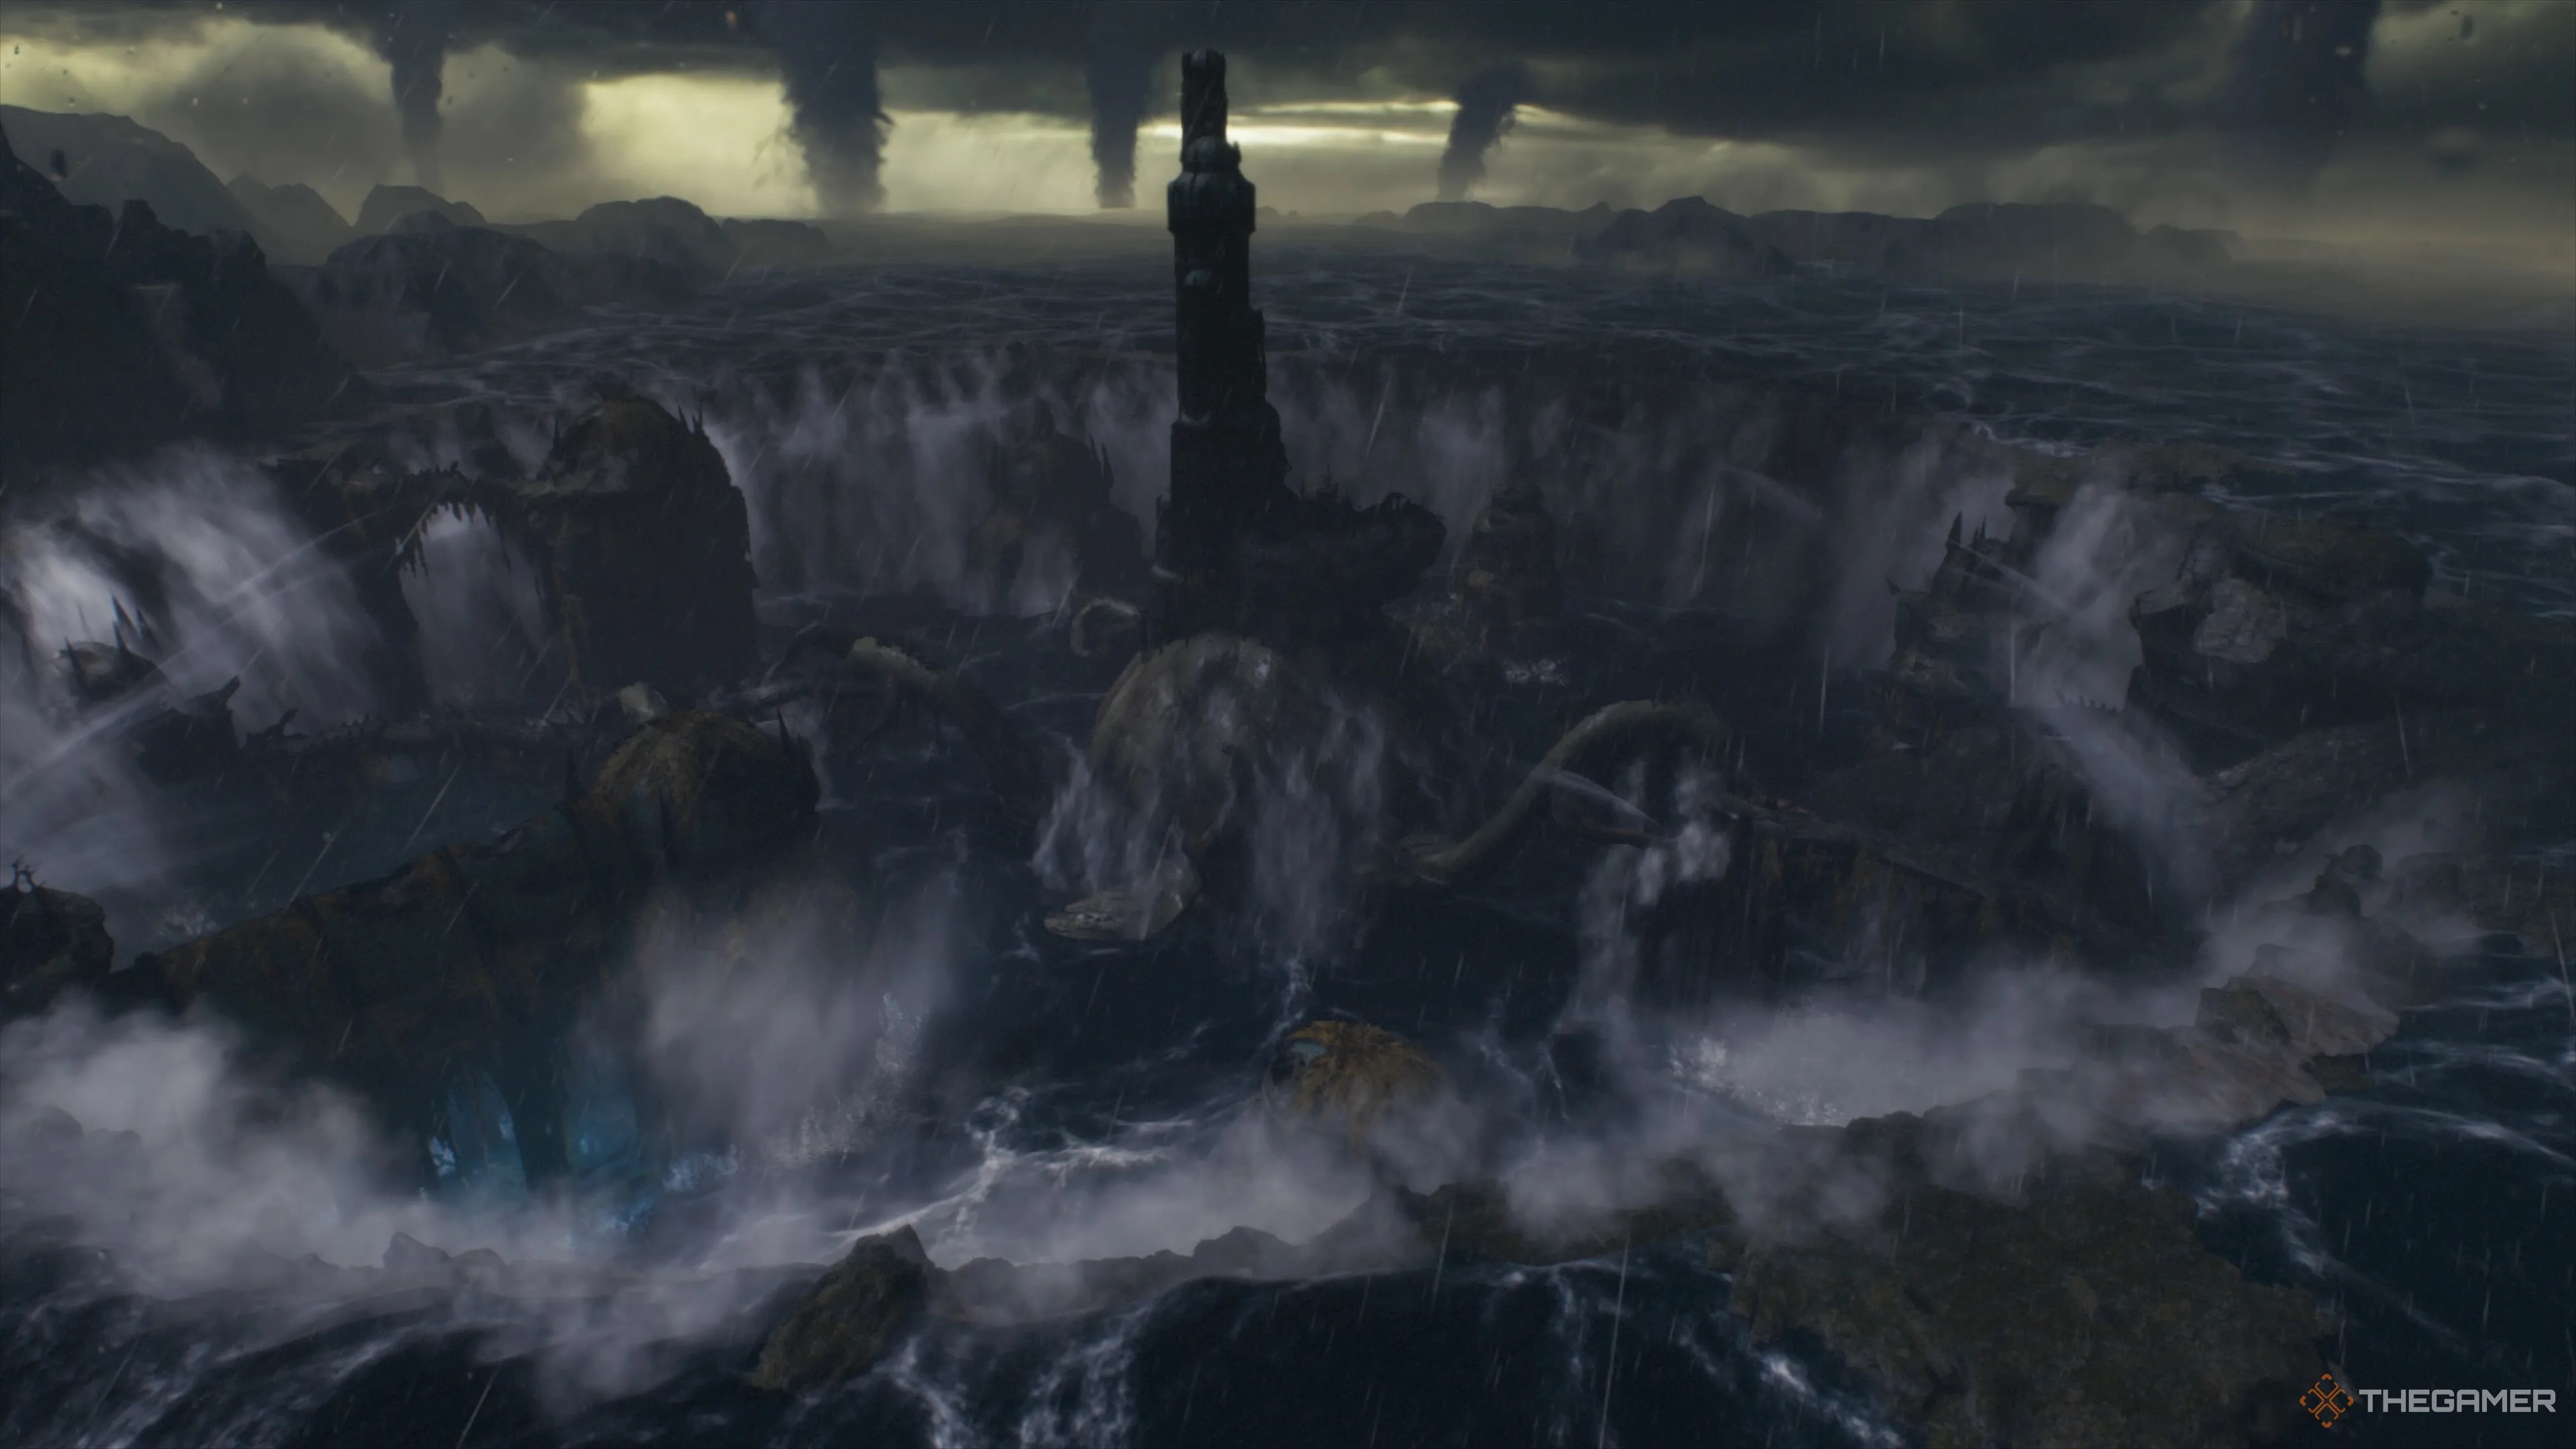
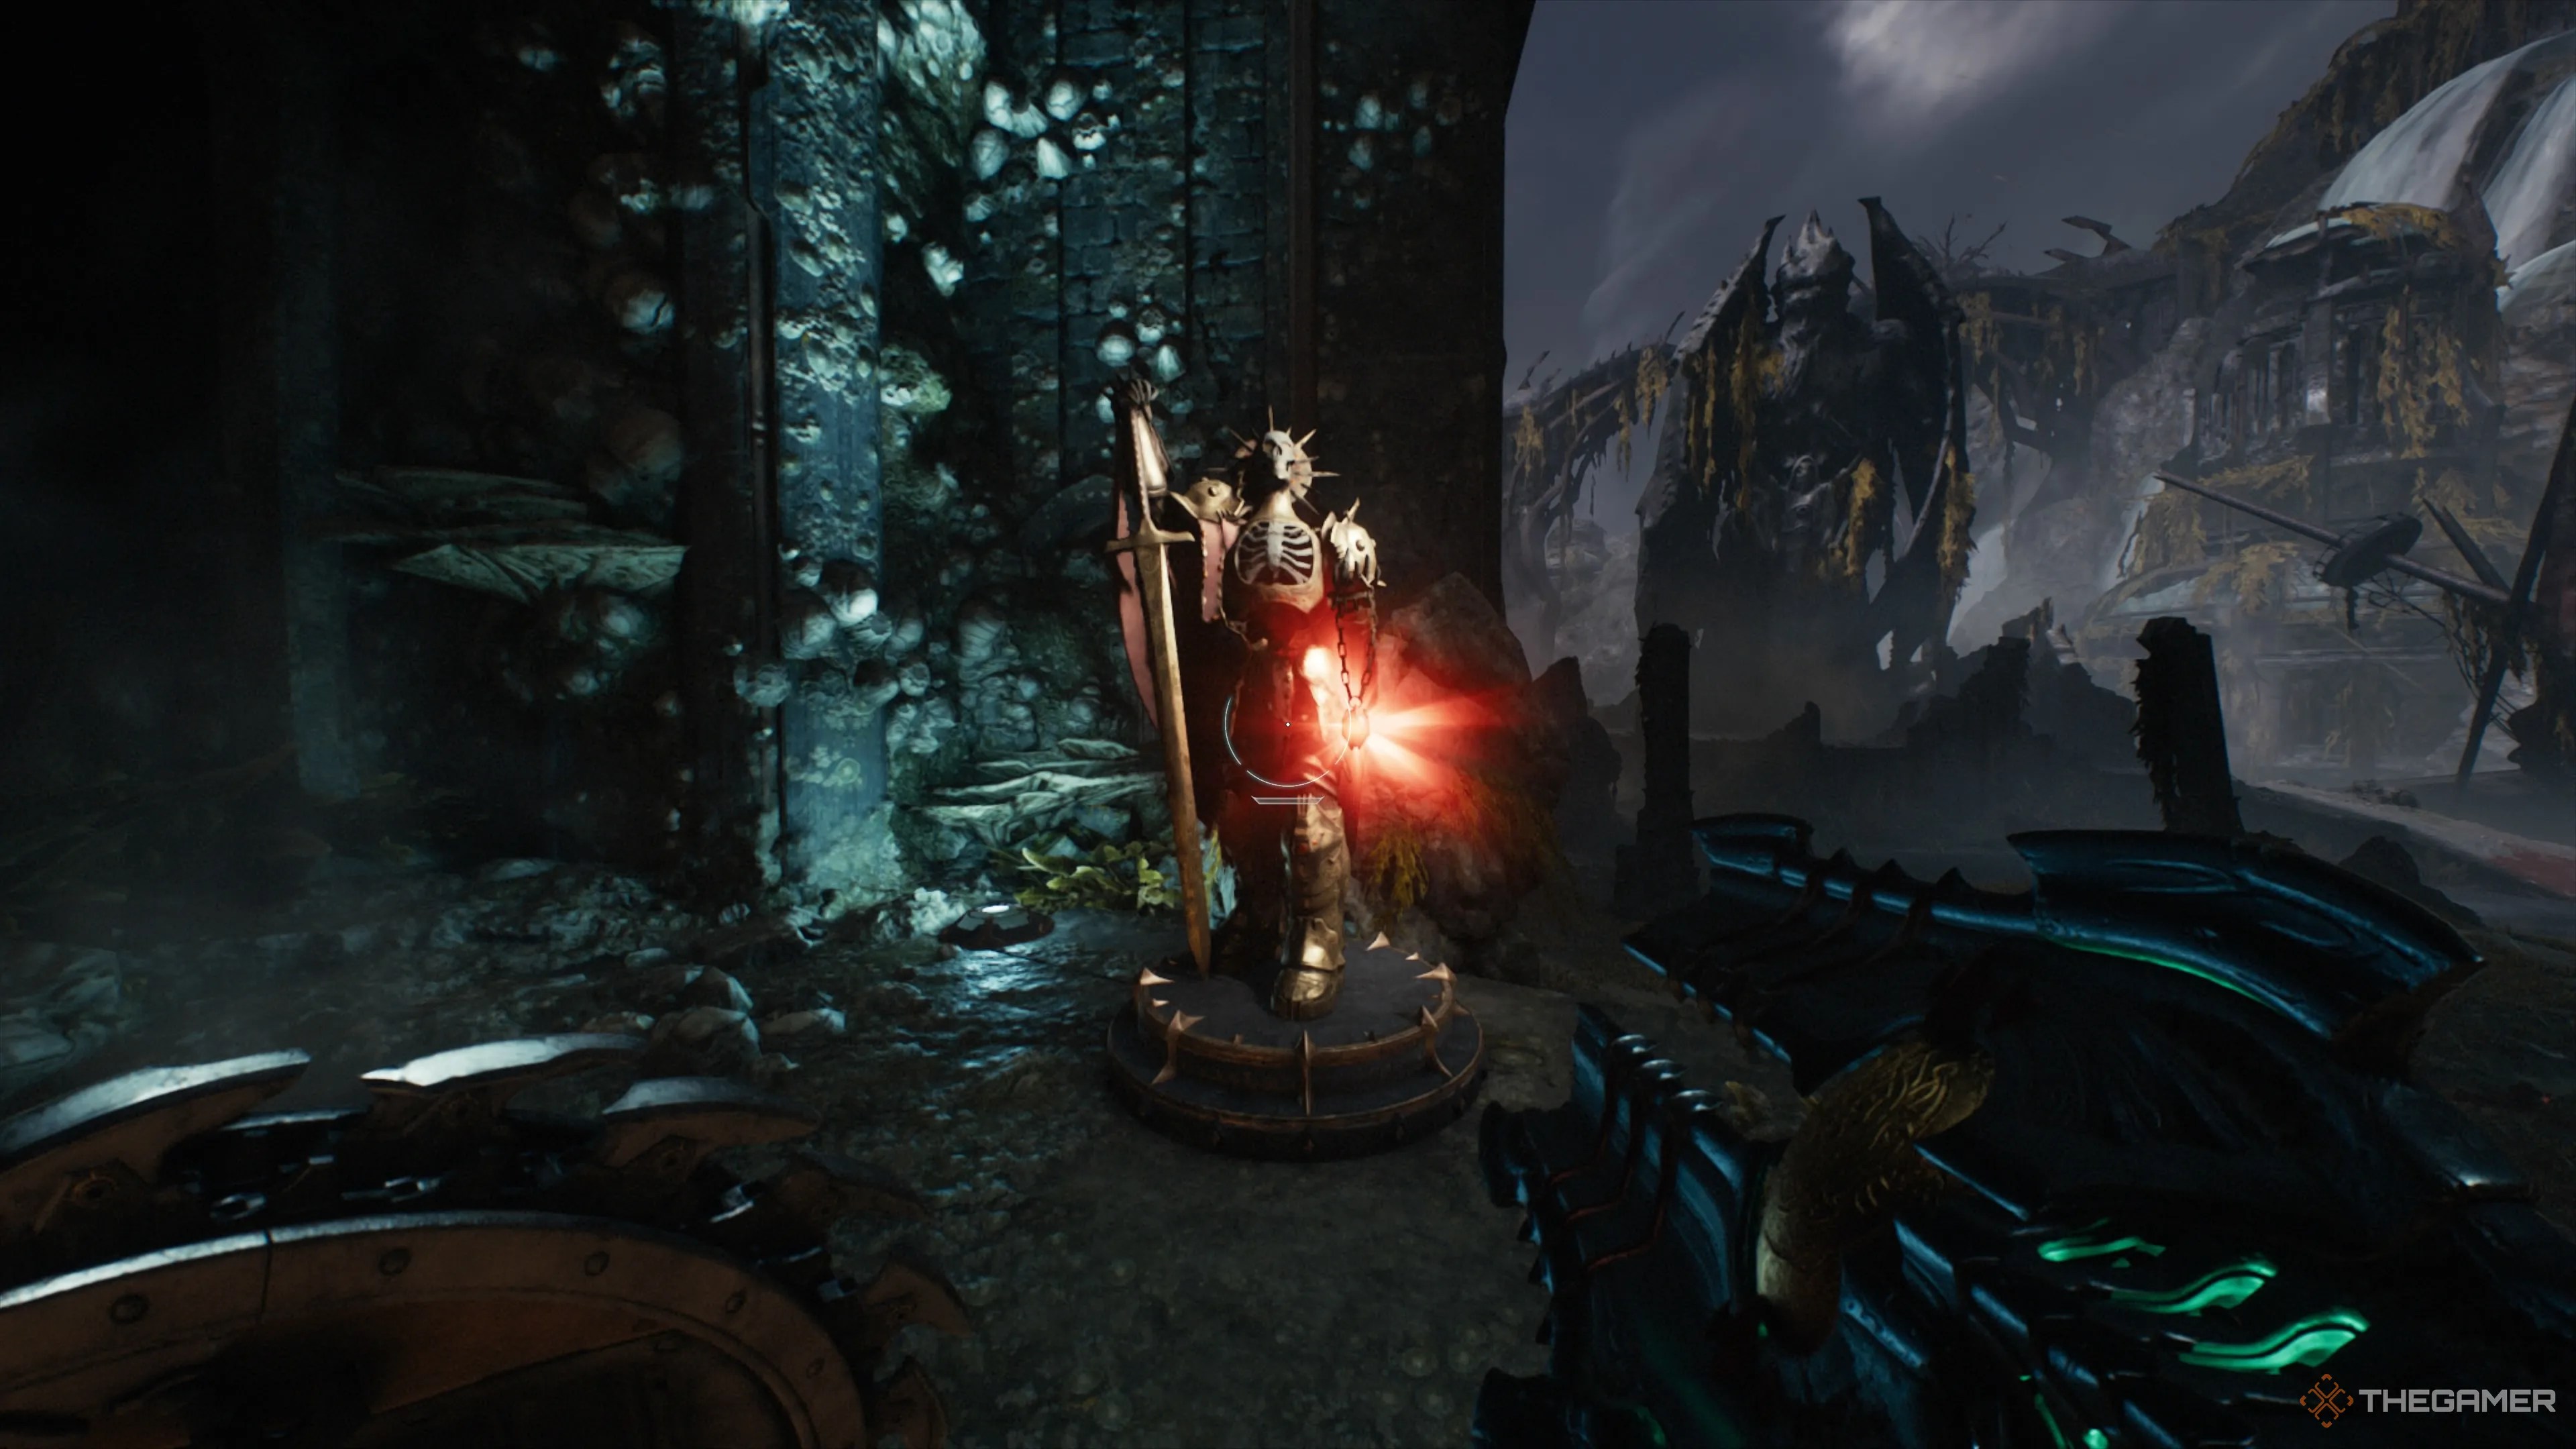
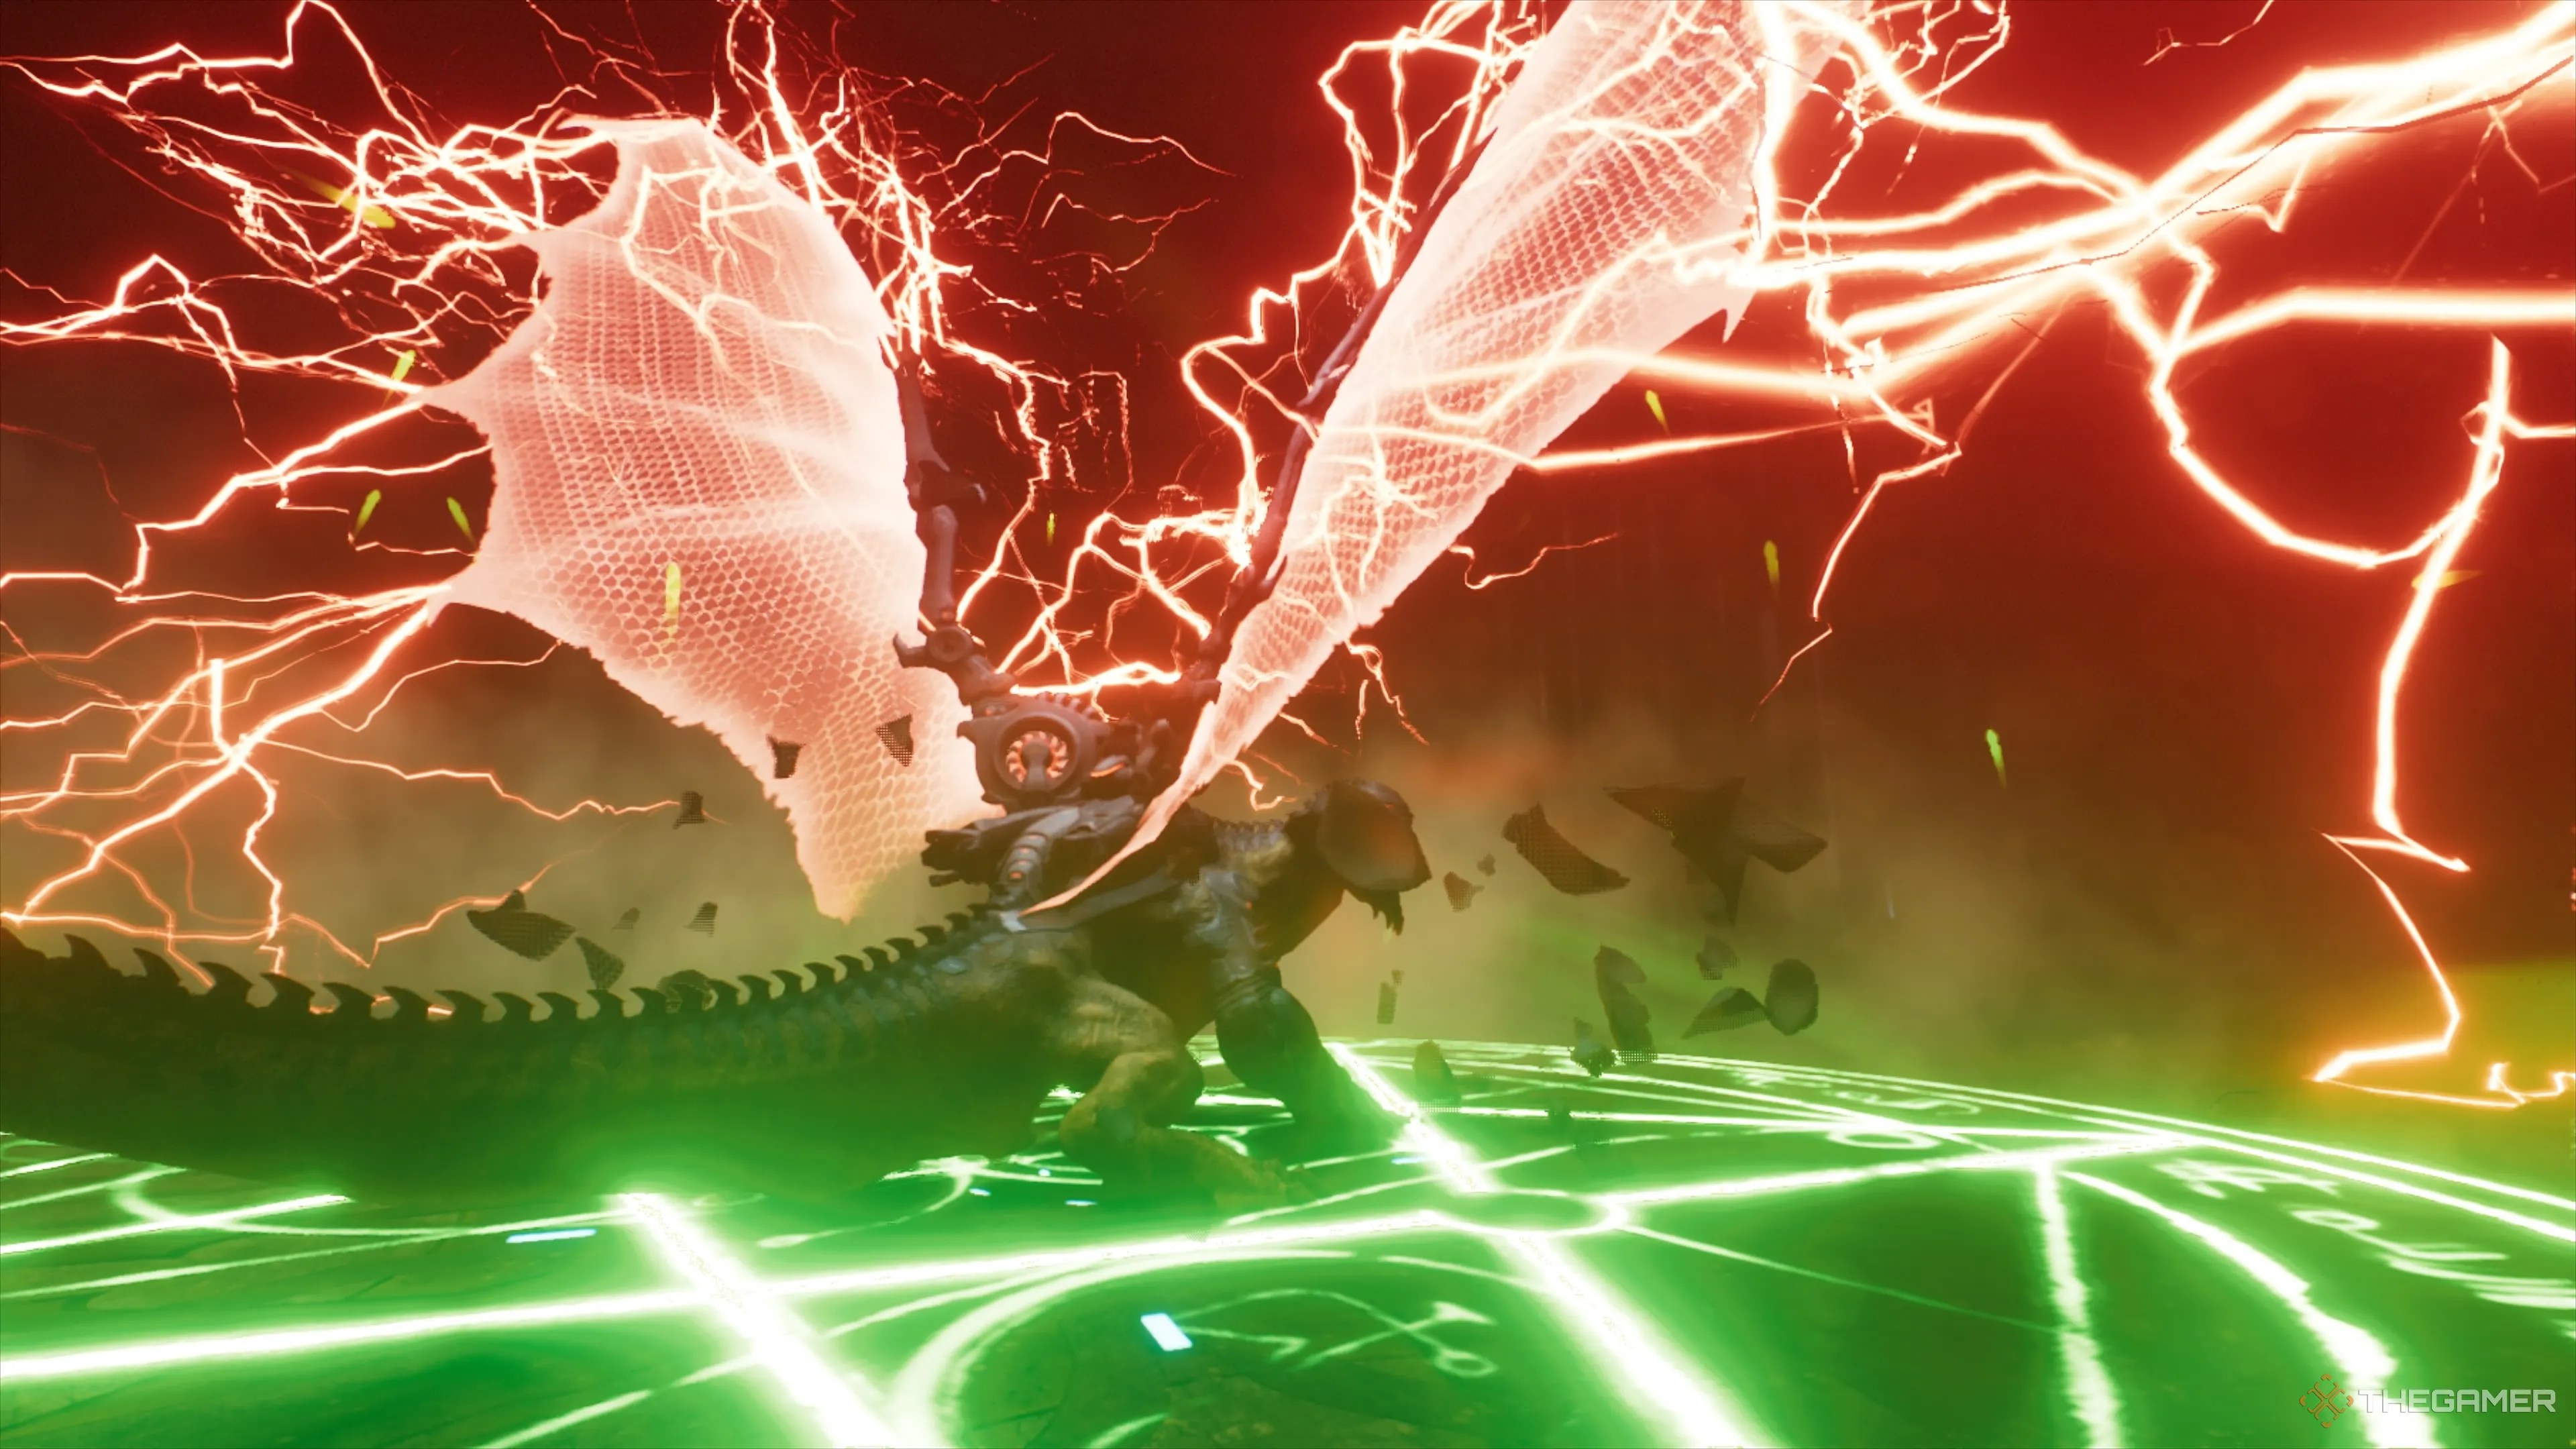
In the Spire Of Nerathul, you’ll find yourself engaged in another one ofDoom: The Dark Ages’s open-ended dragon-riding stages. Your objective will be to deactivate the three Stasis Emitters. Along the way, you’ll need to navigate the spire, battle enemy ships, and shoot cosmic horrors.
Naturally, this stage also comes with quite a few secrets stashed all around. Not only will the core four areas be riddled with them, but there are two secret sections hidden away in the spire as well. Naturally, we’ll guide you to them and every other secret the spire has squirreled away.
11
359
3
2
1
Toys
The Spire Of Nerathul is another dragon stage that isstructured similarly to Aratum. After an introductory section, you’ll mount your dragon and look to shut down three Stasis Emitters. Each will require that you find them, take out a tentacle defending them, and then land. From there, you’ll work your way through each mini-stage.
As we mentioned in the opening paragraph,there are also two secret landing padslocated throughout the stage. There are a bunch of enemy ships flying around as well; one of your challenges will require you to shoot down two of them. Once you have destroyed all the emitters, you will be able to fly to a final location where you will work your way up through another mini-stage filled with enemies and collectibles.
The Opening Area In The Spire Of Nerathul
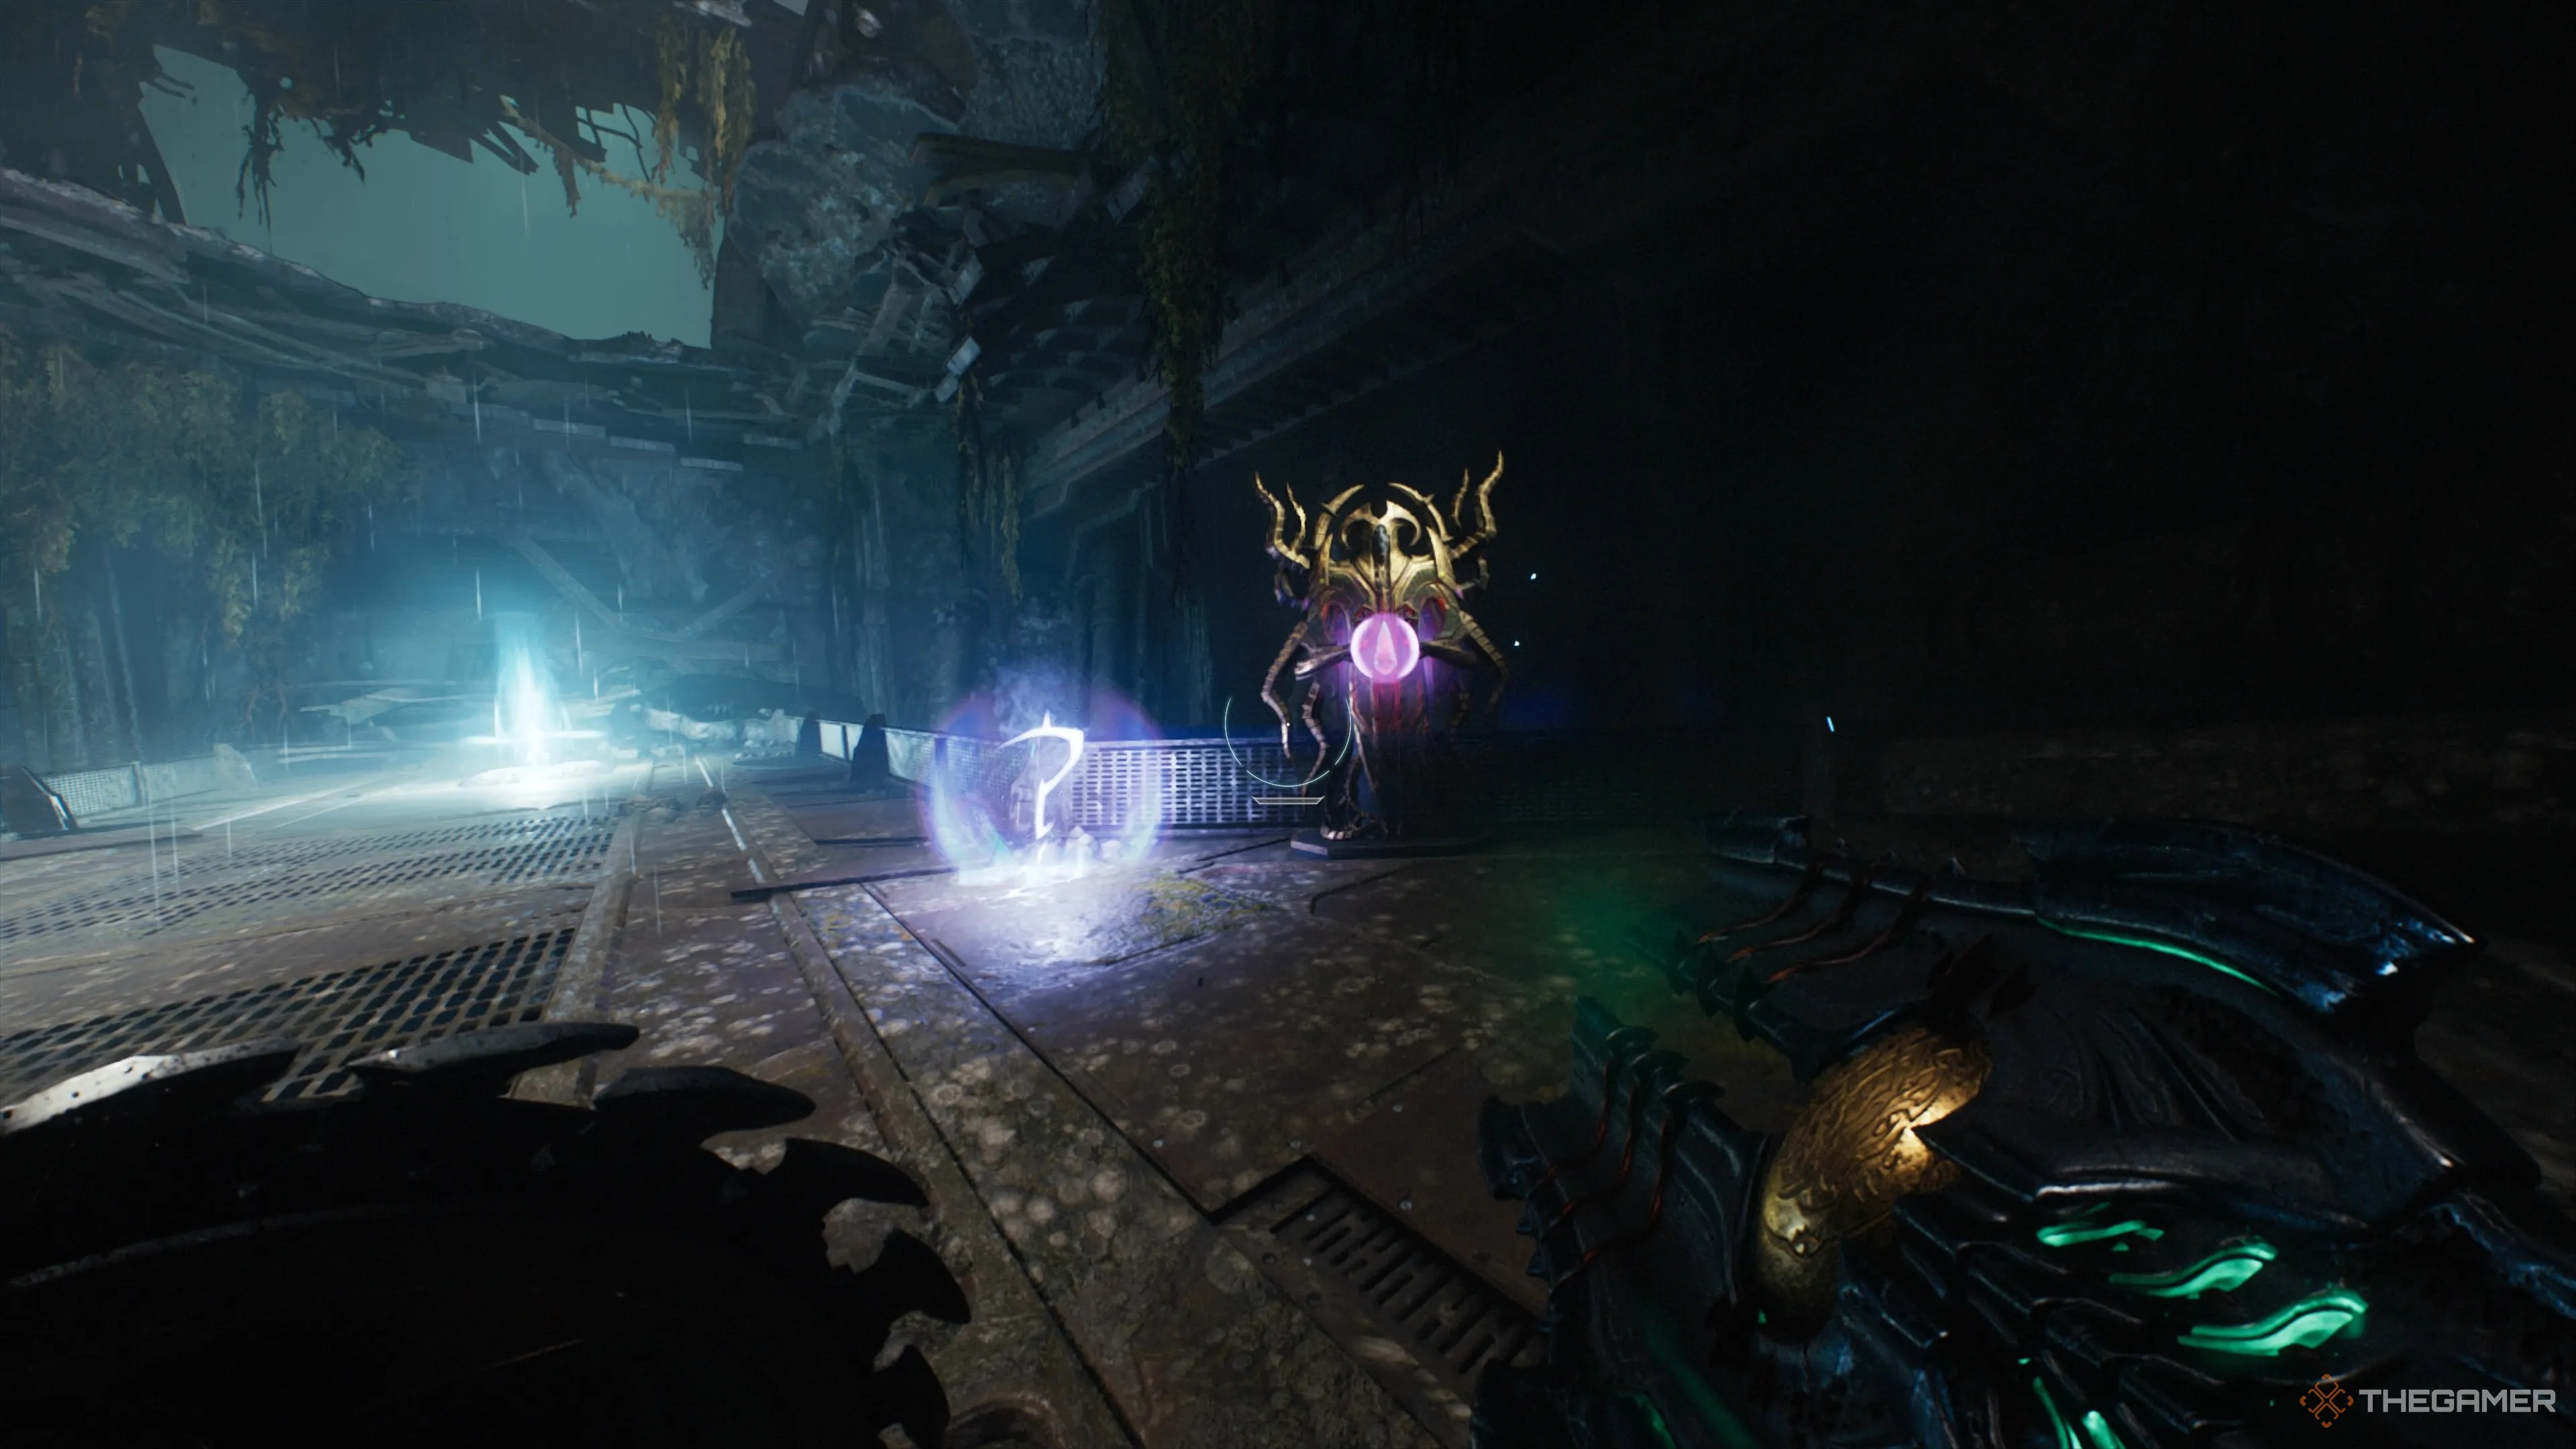
In the very first area, you will see you face off against a massive horde filled almost exclusively with fodder. There are some Hell Knights sprinkled in, but there’s nothing here that should give you any pause.
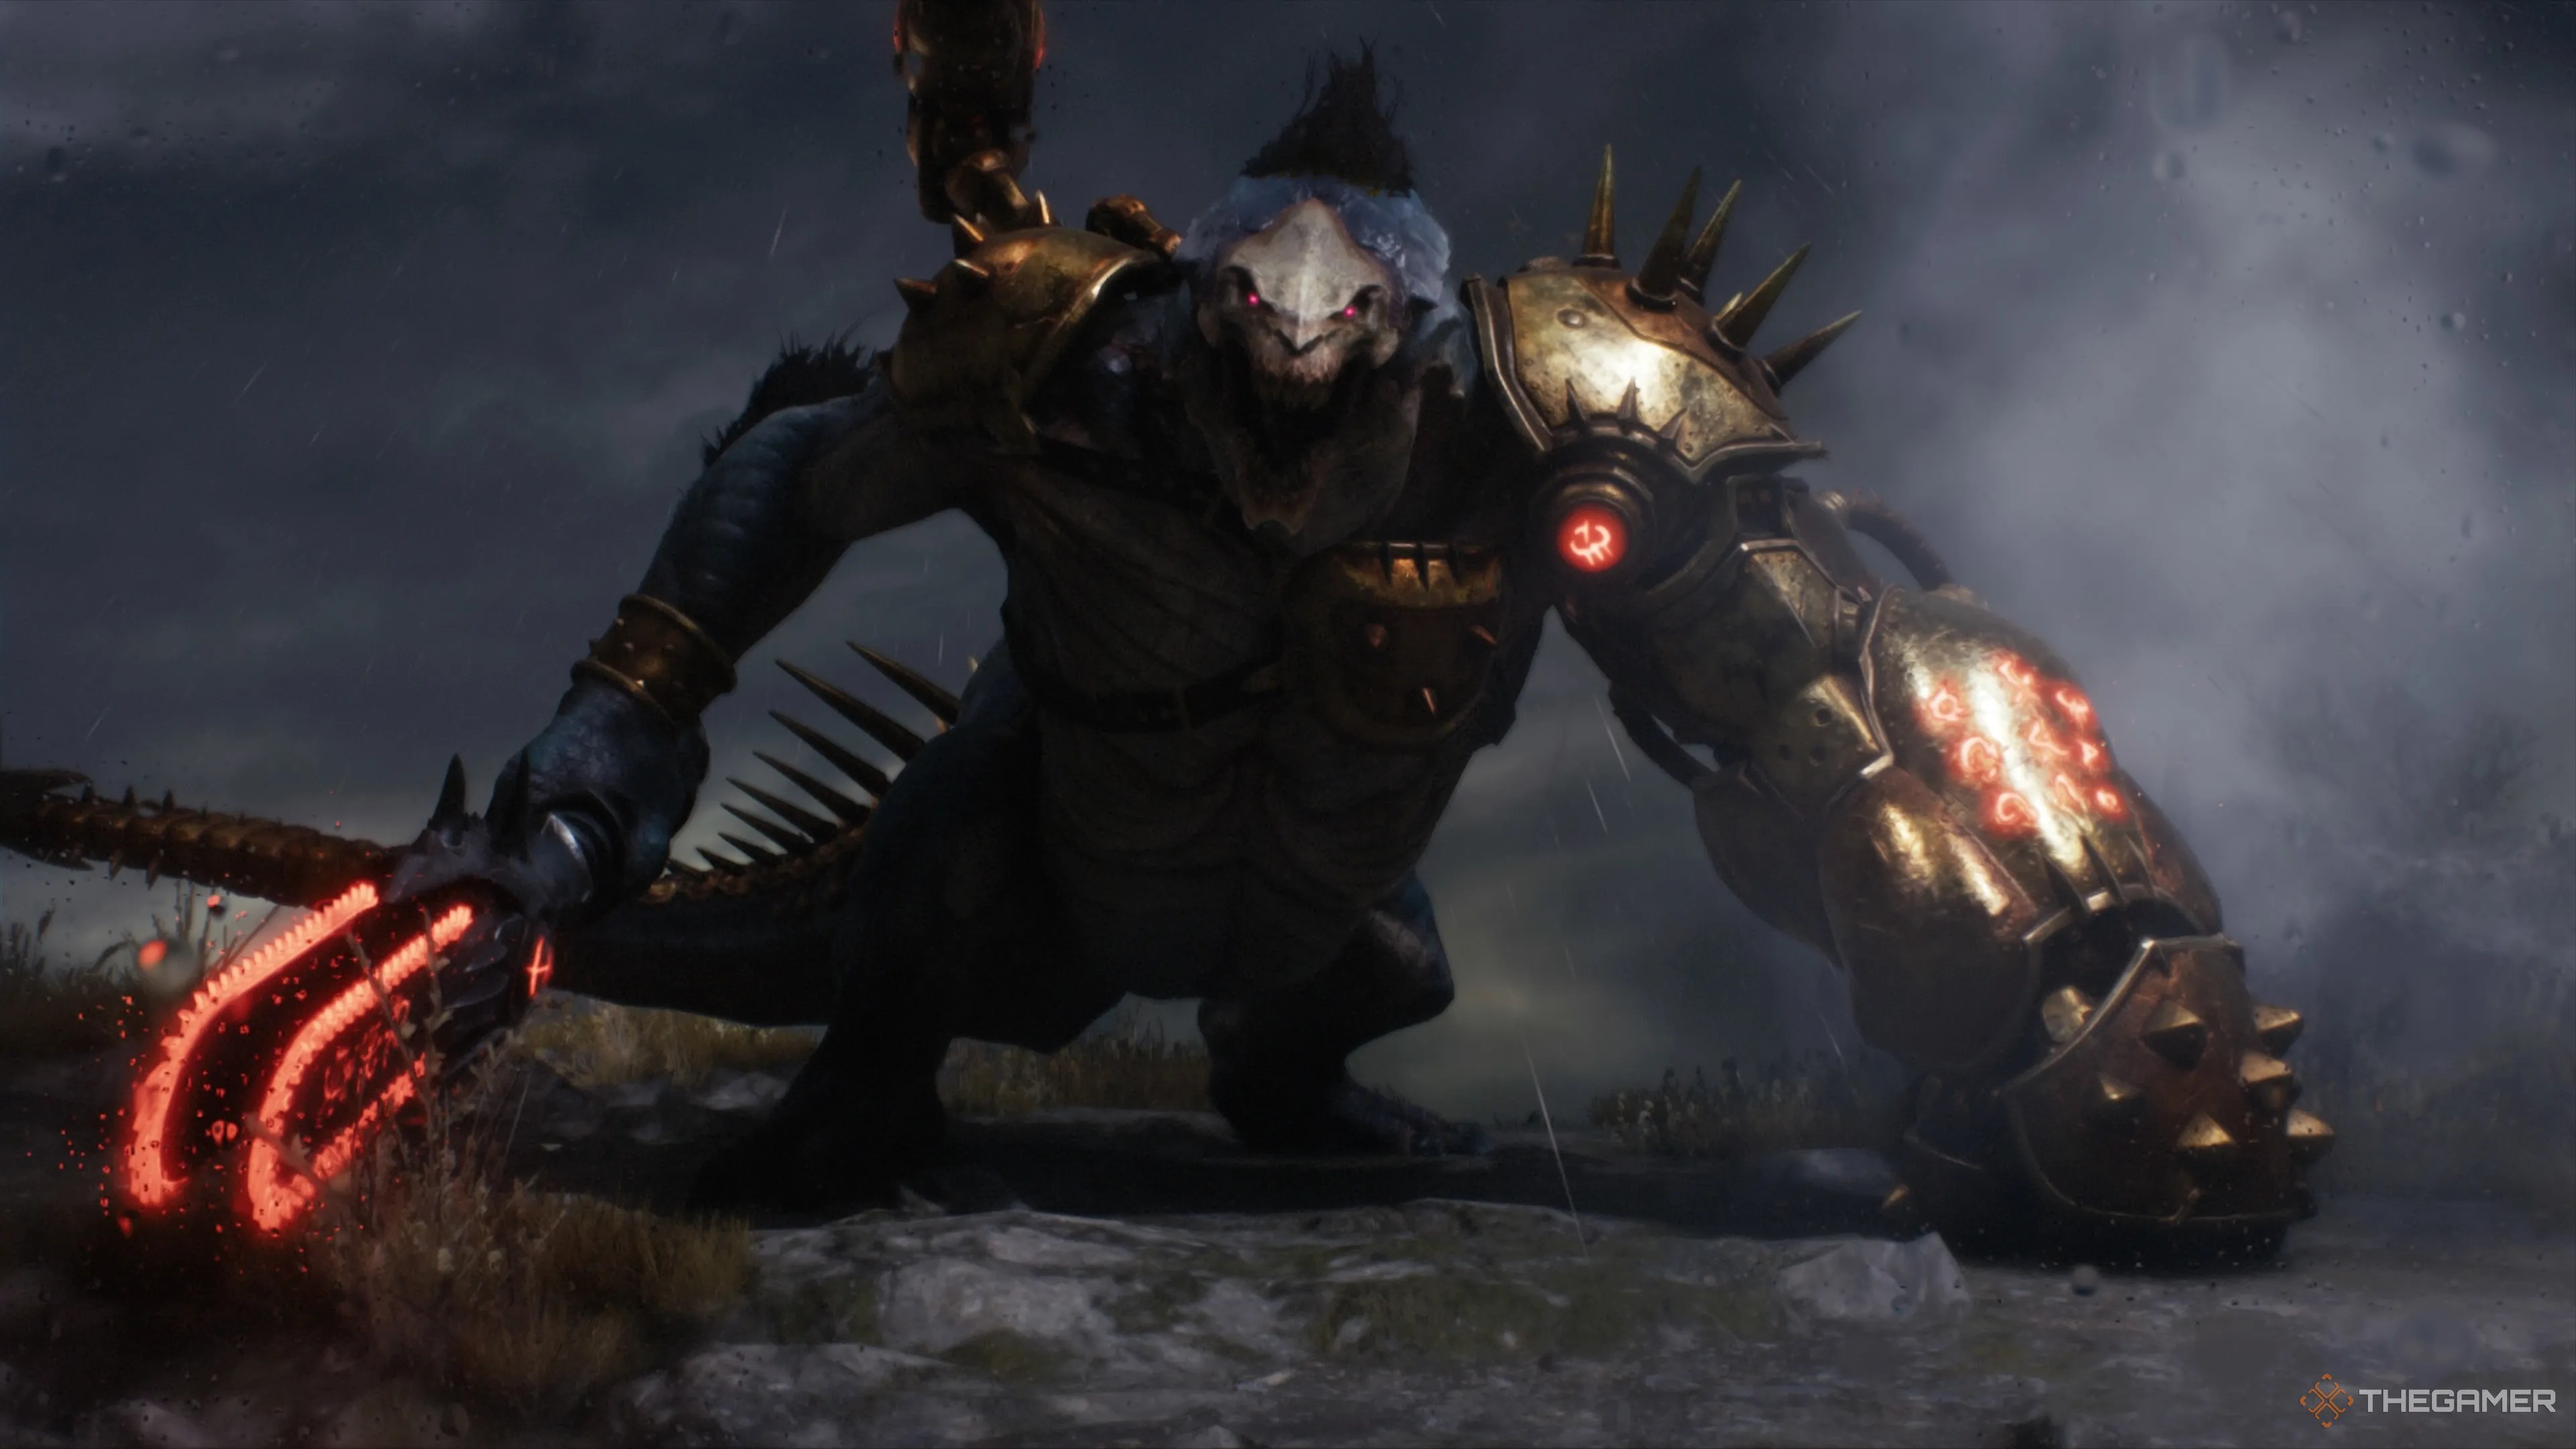
Once you’ve worked your way through them, you’ll be attacked by a new enemy: the Komodo Champion. The best way to deal with this enemy is to stay out of their range while hitting them with your more powerful weapons.They don’t have any ranged attacks, so you can just keep your distance.
The Treasure Chest In The Opening Area
There is only one secret located in the opening section of The Spire Of Nerathul. Once you’ve cleared out the enemies, head up along the west side of the map(with your back facing the place where you first landed). You will travel up an earthen ramp, andcircle along the edge until you see a stone retaining wallprotecting a small beach. Hop down into the area protected from the waves. From here, you’ll enter a small cave with a Treasure Chest.
Once you’ve done that, head to the objective marker, and interact with the skull. Then hop on your dragon. It is time to begin the stage proper.
The First Secret Landing Platform
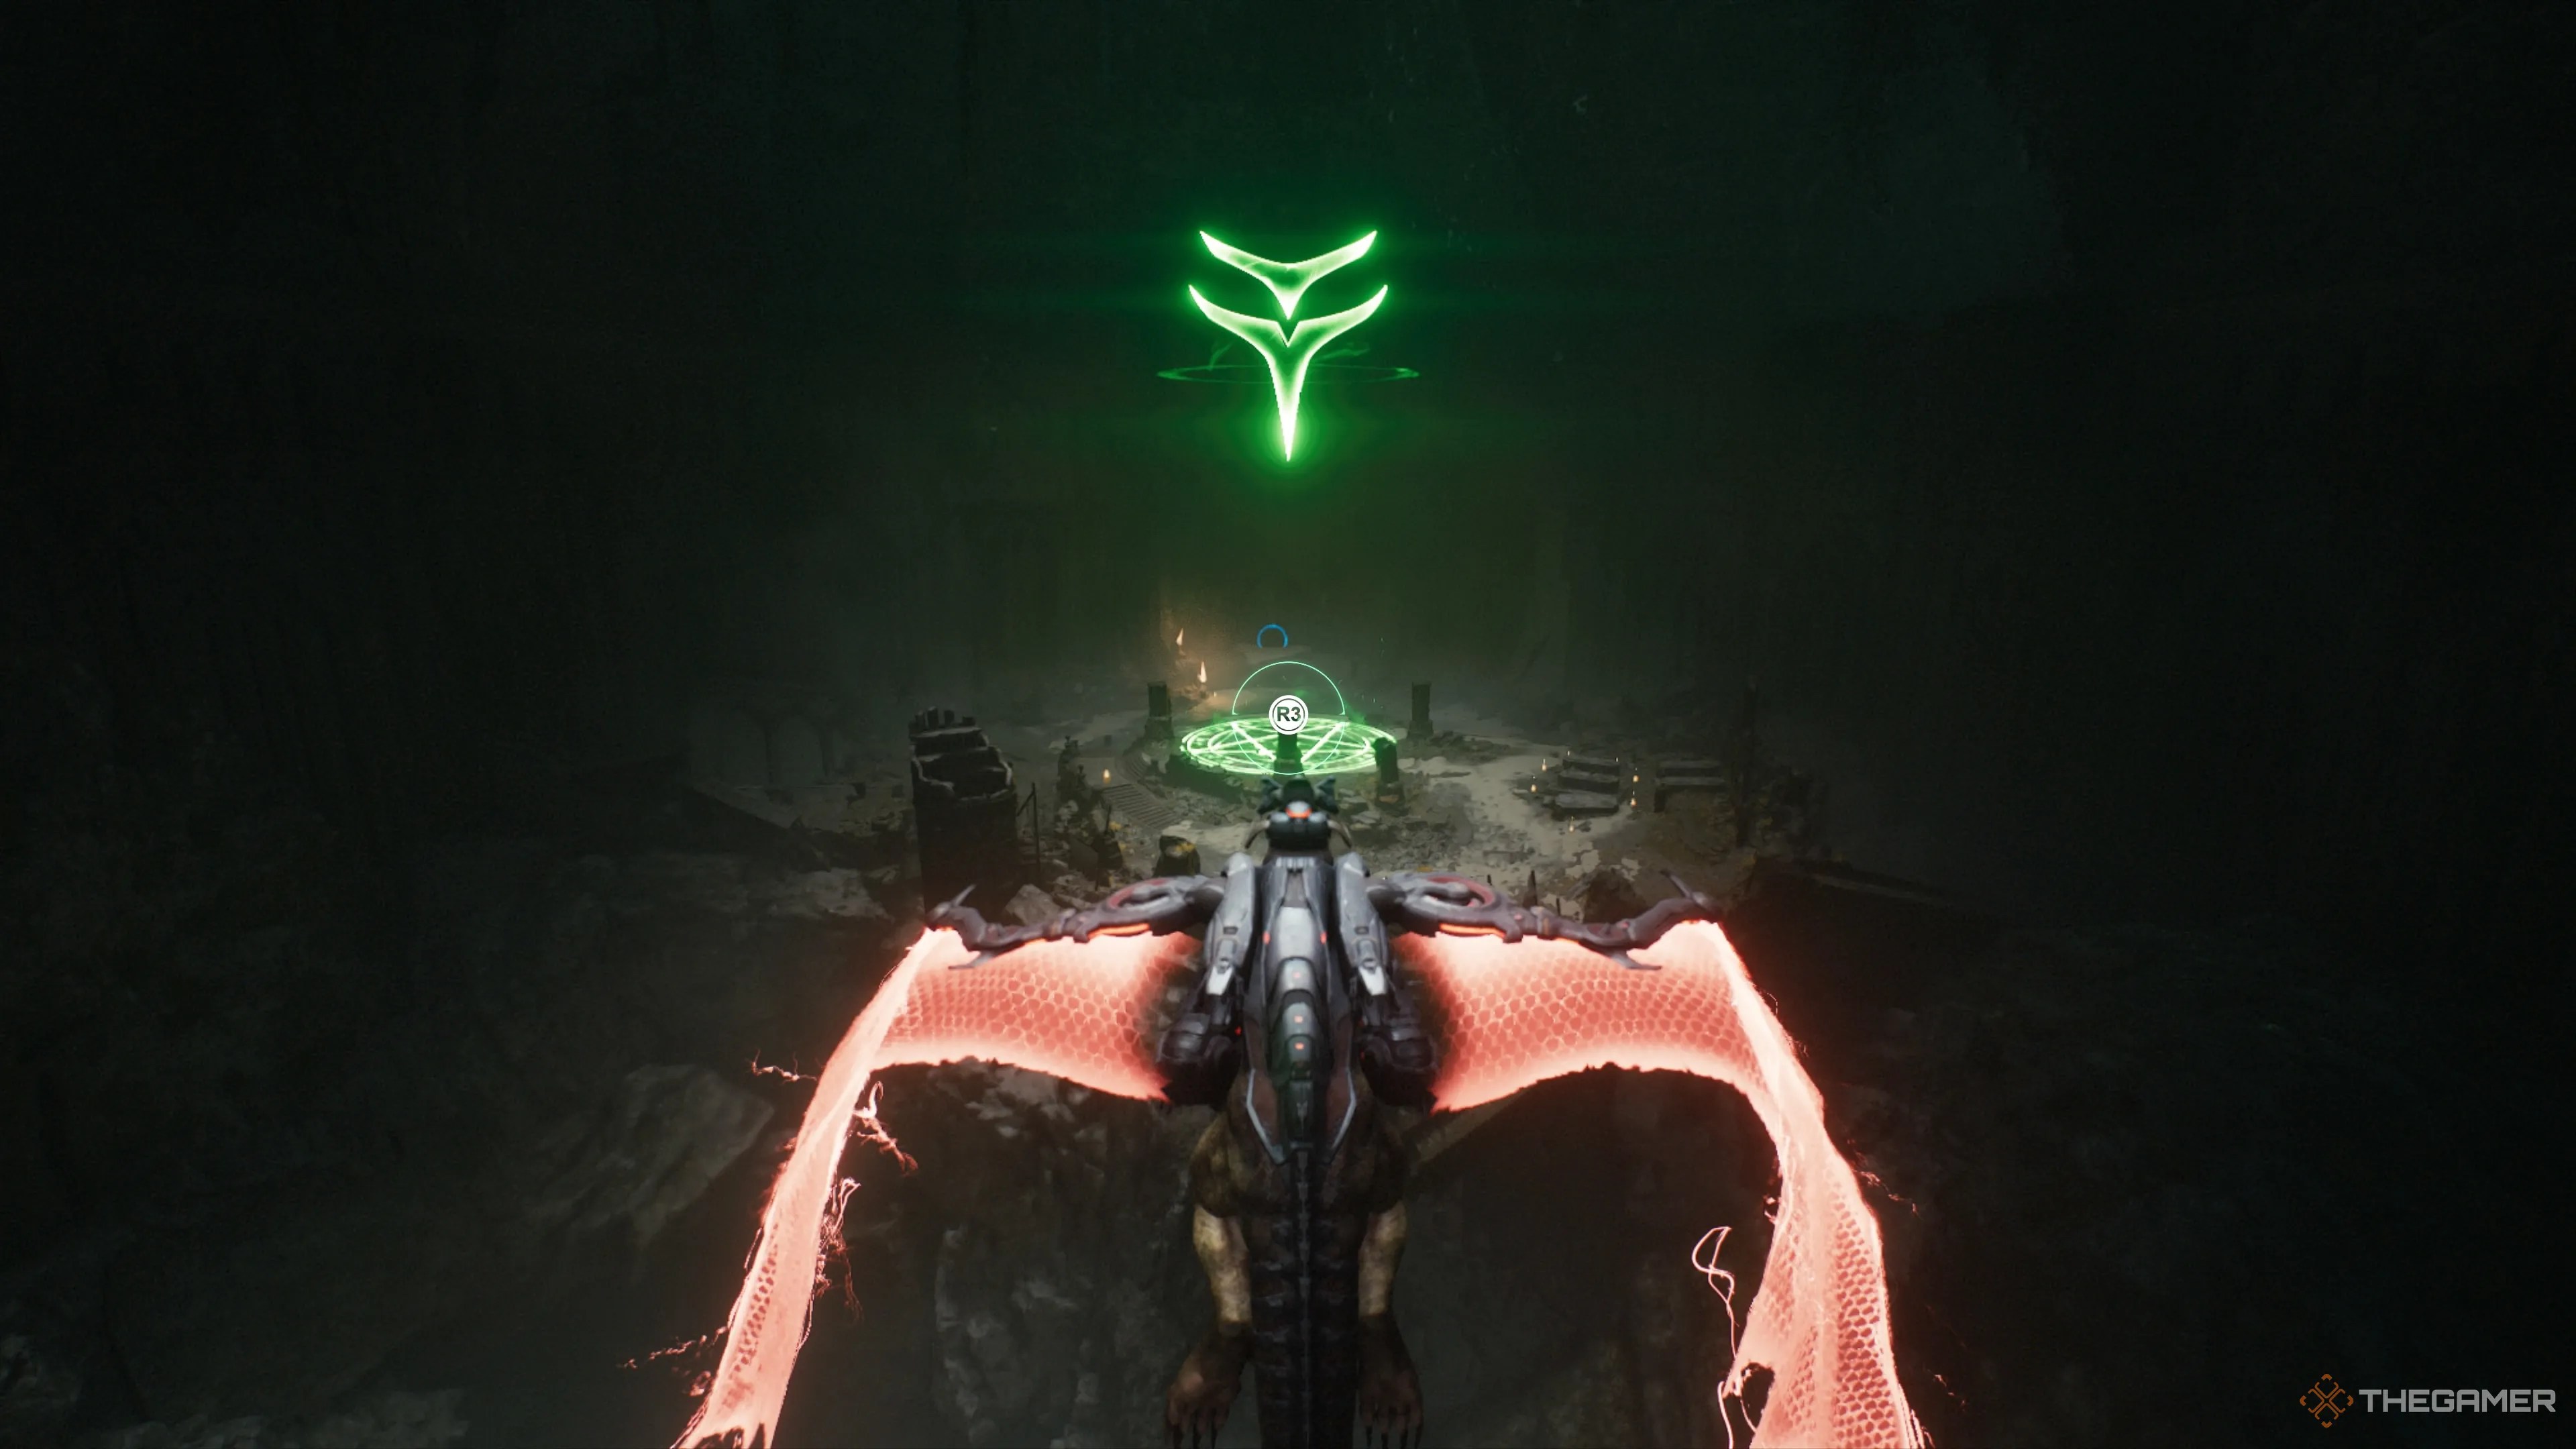
You’ll find the first secret platform at thebottom of the spire, and through the tunnel that is right next to a Stasis Emitter. Just fly directly downward, and then look for an opening. Follow that opening and you’ll be right at the landing pad.
Gather The Gold
Once you land your dragon, start by circling the area and snatching up all the gold. There is quite a bit of it, and you won’t even have to skirmish with any enemies. Just consult your map andmake sure you snatch it all up before you enter through the portal.
The Wraithstone And Weapon Skin
You’ll work through a winding series of hallways that is absolutely overflowing with Imps. Just sit back and let them bottleneck while you hit them with charged Chainshots, missiles, and grenades. Once you get to the back half, you will also deal with Nightmare Stalker Imps, so keep your eyes peeled.
The Second Secret Landing Platform
You’ll find the second secret platform at the top of the spire. Look for the mountainous region along the rim at the top. You will need to defeat a Titan first, then you’ll be able to land your dragon.
The Wraithstone
In order to get the Wraithstone you’ll simply need to fight through three waves of enemies. The first wave is Soldier Demons and Imp Stalkers. The next phase includes a Cacodemon Hybrid alongside Imps and Stone Imps. Finally, you will face off against a Cyberdemon backed by Stone Imps and Soldier Demons. Once you kill the Cyberdemon, you’re able to grab that Wraithstone.
The Emitter Located At The Top Of The Spire
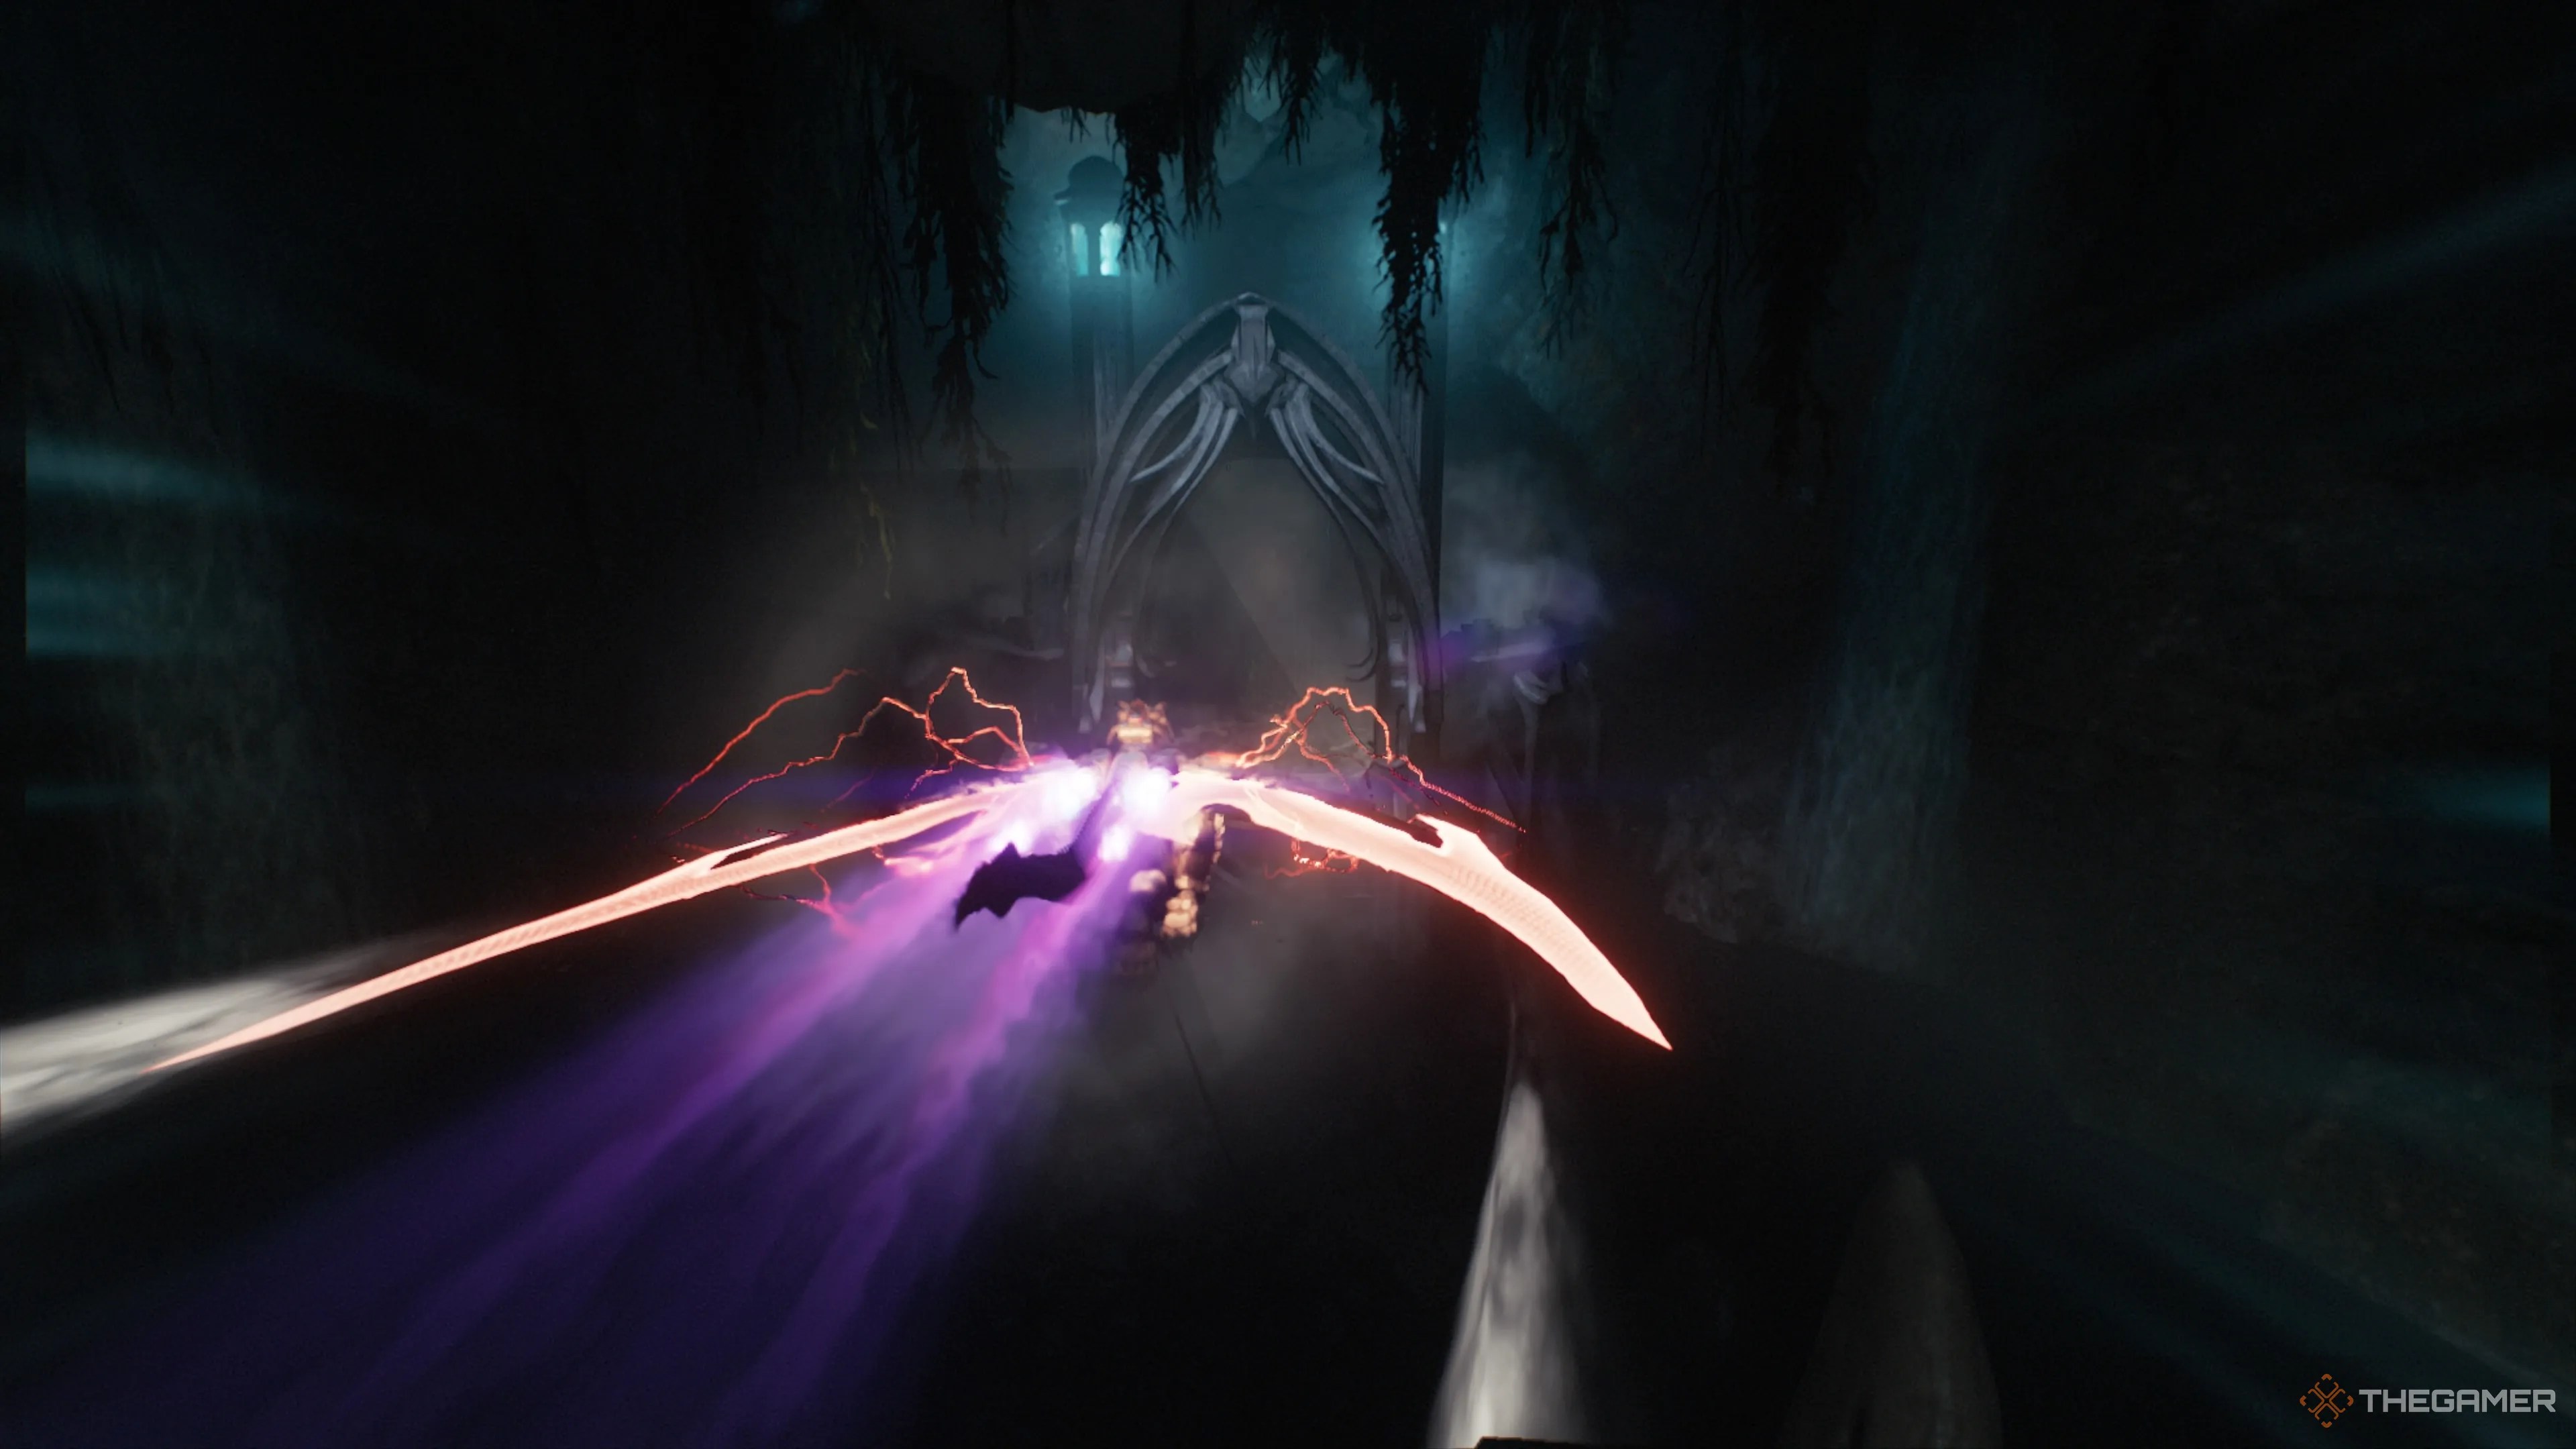
If yousimply fly up to the top section of the spire and circle itlooking for a tunnel, you’ll inevitably find the entrance to the area with the first emitter. Once you enter the tunnel, you’ll chase a ship.If the ship makes it all the way to the end of the tunnel before you destroy it, then it will escape.Just verify you are accelerating the entire time, and try to aim your fireslightlyahead of where you think the enemy flier is headed.
At the end of the tunnel, you will battle a massive tentacle. This is a pretty typical dragon-section encounter: lock-on to it, dodge the green hell blast, and then kill the tendril with your enhanced firepower. Once you’ve taken it out, you’ll be able to land and locate the first emitter.
The Life Sigil Near The Tank
Head for the main part of the spire. You’ll need to take out a Pinky Rider, a few Whiplash Demons, and a Cyberdemon (he’s hanging out near the Sentinel Shrine on the right side of the map). Once you clear out the demons, head to the northeast corner of the lower section, take out a tank, and then grab the gold and the Life Sigil from the cave it was guarding.
The Ruby Guarded By The Agaddon Hunter
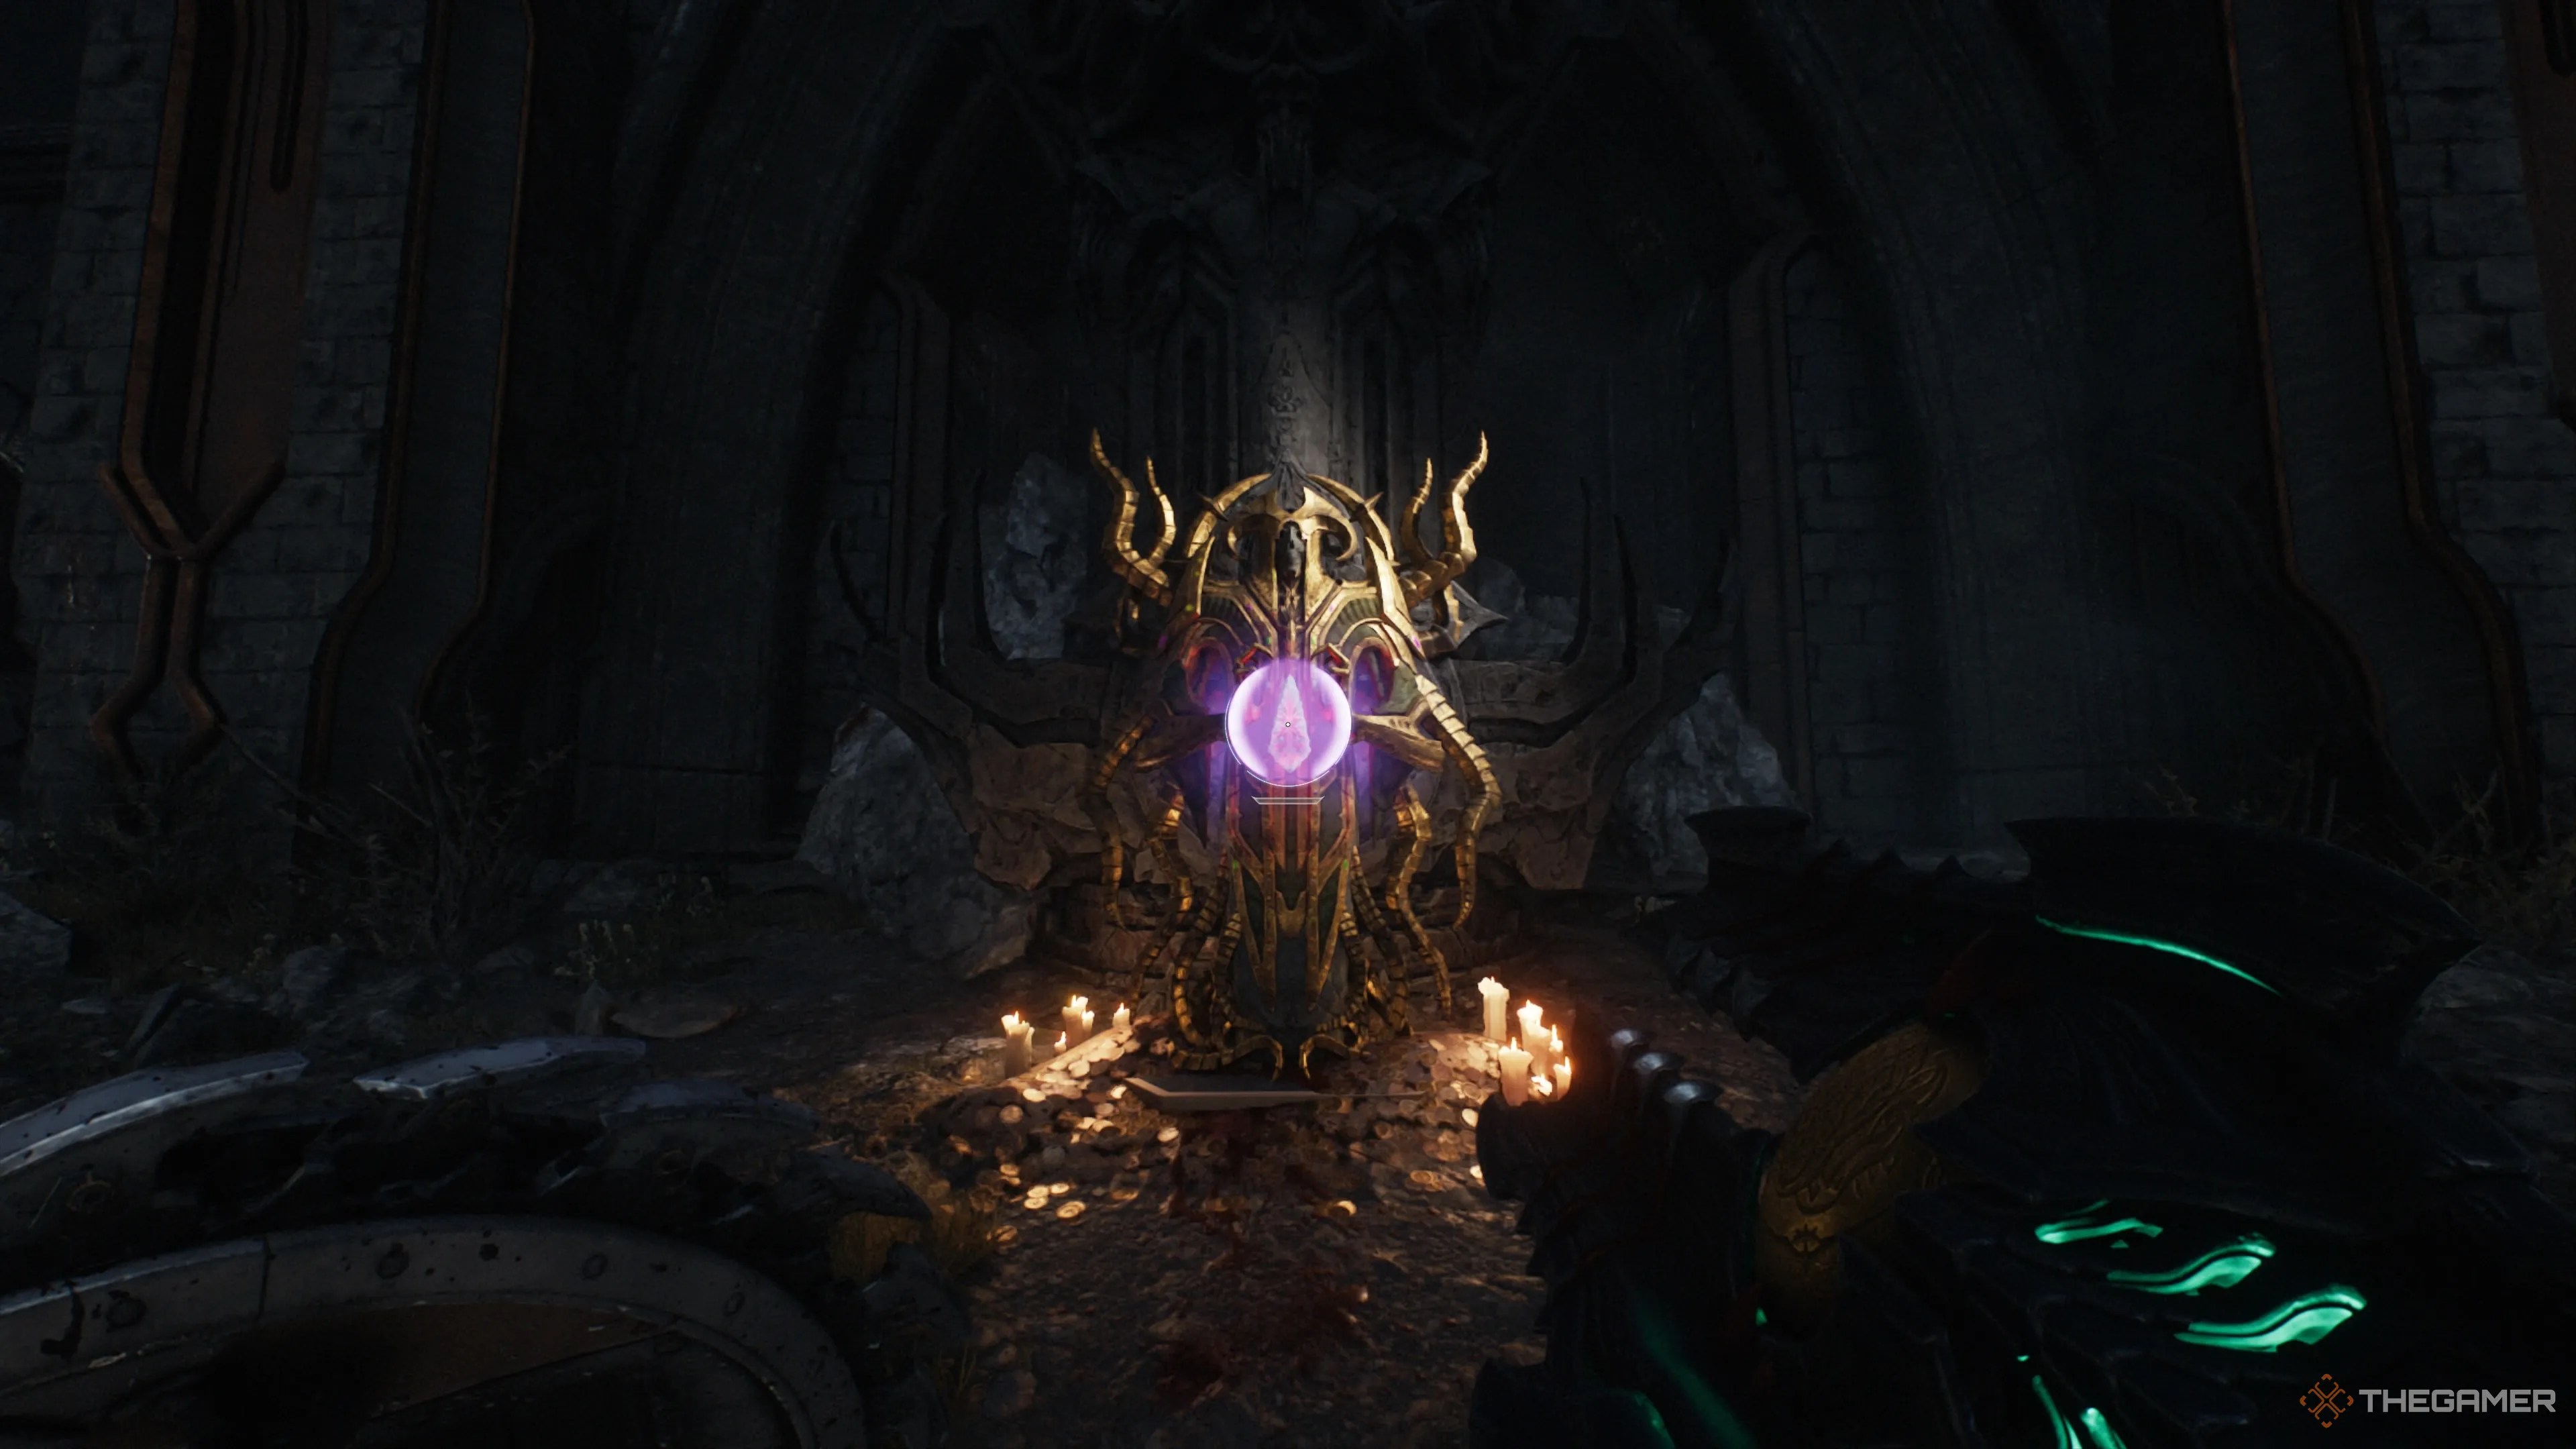
On the western side of this spire, enter into the symposium, and you’ll be locked inside withan Agaddon Hunter and a Revenant Demon. Once you kill them, the force field will lower and you may grab the Ruby. Once you are ready to progress, head to the northern tip of the stage and take the elevator down. From there, you just need tokill an Arachnotron and a Vagary demon, and you’ll be able to destroy the Signal Emitter.
The Emitter In The Center Of The Spire
The title of this section is a bit of a misnomer, as the tunnel you’ll take to reach this Emitter isn’treallyin the “center”. It is, however,below the top-most emitter, and above the emitter at the bottom. The tunnel you need to take is across from the one that took you to the emitter at the top of the Spire. It is just down a little. Once you enter the tunnel, you’ll chaseanothership, and battleanothertentacle at the end.
The Gold Pile On The Ship
Jump on the launcher, and head over to the dilapidated ship up above. Head along the left edge, traveling straight ahead, and look for a green corpse to your right. Once you see it, bury your shield in it, then perform a shield jump. There’s some gold here.
Arachnotron Toy
Head toward the bow of the ship and fight through the Stone Imps, Cacodemon Hybrid, and Revenant Demon.On the left side of the top floor, you should see a breakable wall. Shield Charge through it and grab the Arachnotron toy.
The Treasure Chest On The Ship
This one is pretty tricky.On the central ramp between the pile of gold and the Arachnotron toy, look for a hole in the wall on your right. You should be able to see some exploding barrels. Shoot them and that will open up a path down below.Head down the ramp, and then take a right and turn the corner. You should see a massive hole in the wall. Walk through that hole, and you’ll drop into a room with a treasure chest.
The Ruby On The Ship
Head further toward the bow of the ship, prepare to fight amassive number of Nightmare Imp Stalkers, though. There are over half a dozen of them waiting to ambush you. Now, head to the floor above, and look up. You should seea super-heated chain holding up a giant block. Sever the chain with your shield and land on the button below. This will open the gate on the bottom floor blocking off another launch pad. Head down there and hop on it. Now, you’ll be able to grab some gold and snatch the ruby up above.
The Life Sigil Below The Ship
Once you are at the bow, you’ll be able to head forward and leap down to a field littered with demons. After crushing them all, jump down another later. Now, turn around, and head into the area behind you. You’ll find a Life Sigil with two piles of gold. Unfortunately, you’ll also find a Komodo demon, so prepare to square off with them.
Demonic Essence - Health
Keep following that path downward, and you’ll eventually find one of those demonic trees. Smash through it with your Shield Charge, and you’ll summon a Cyberdemon. You’ll need to take out the Shield Soldiers positioned near them to break their barrier and fight them. Once you kill the Cyberdemon, you’ll get a Demonic Essence.
The First Spire Of Nerathul Codex
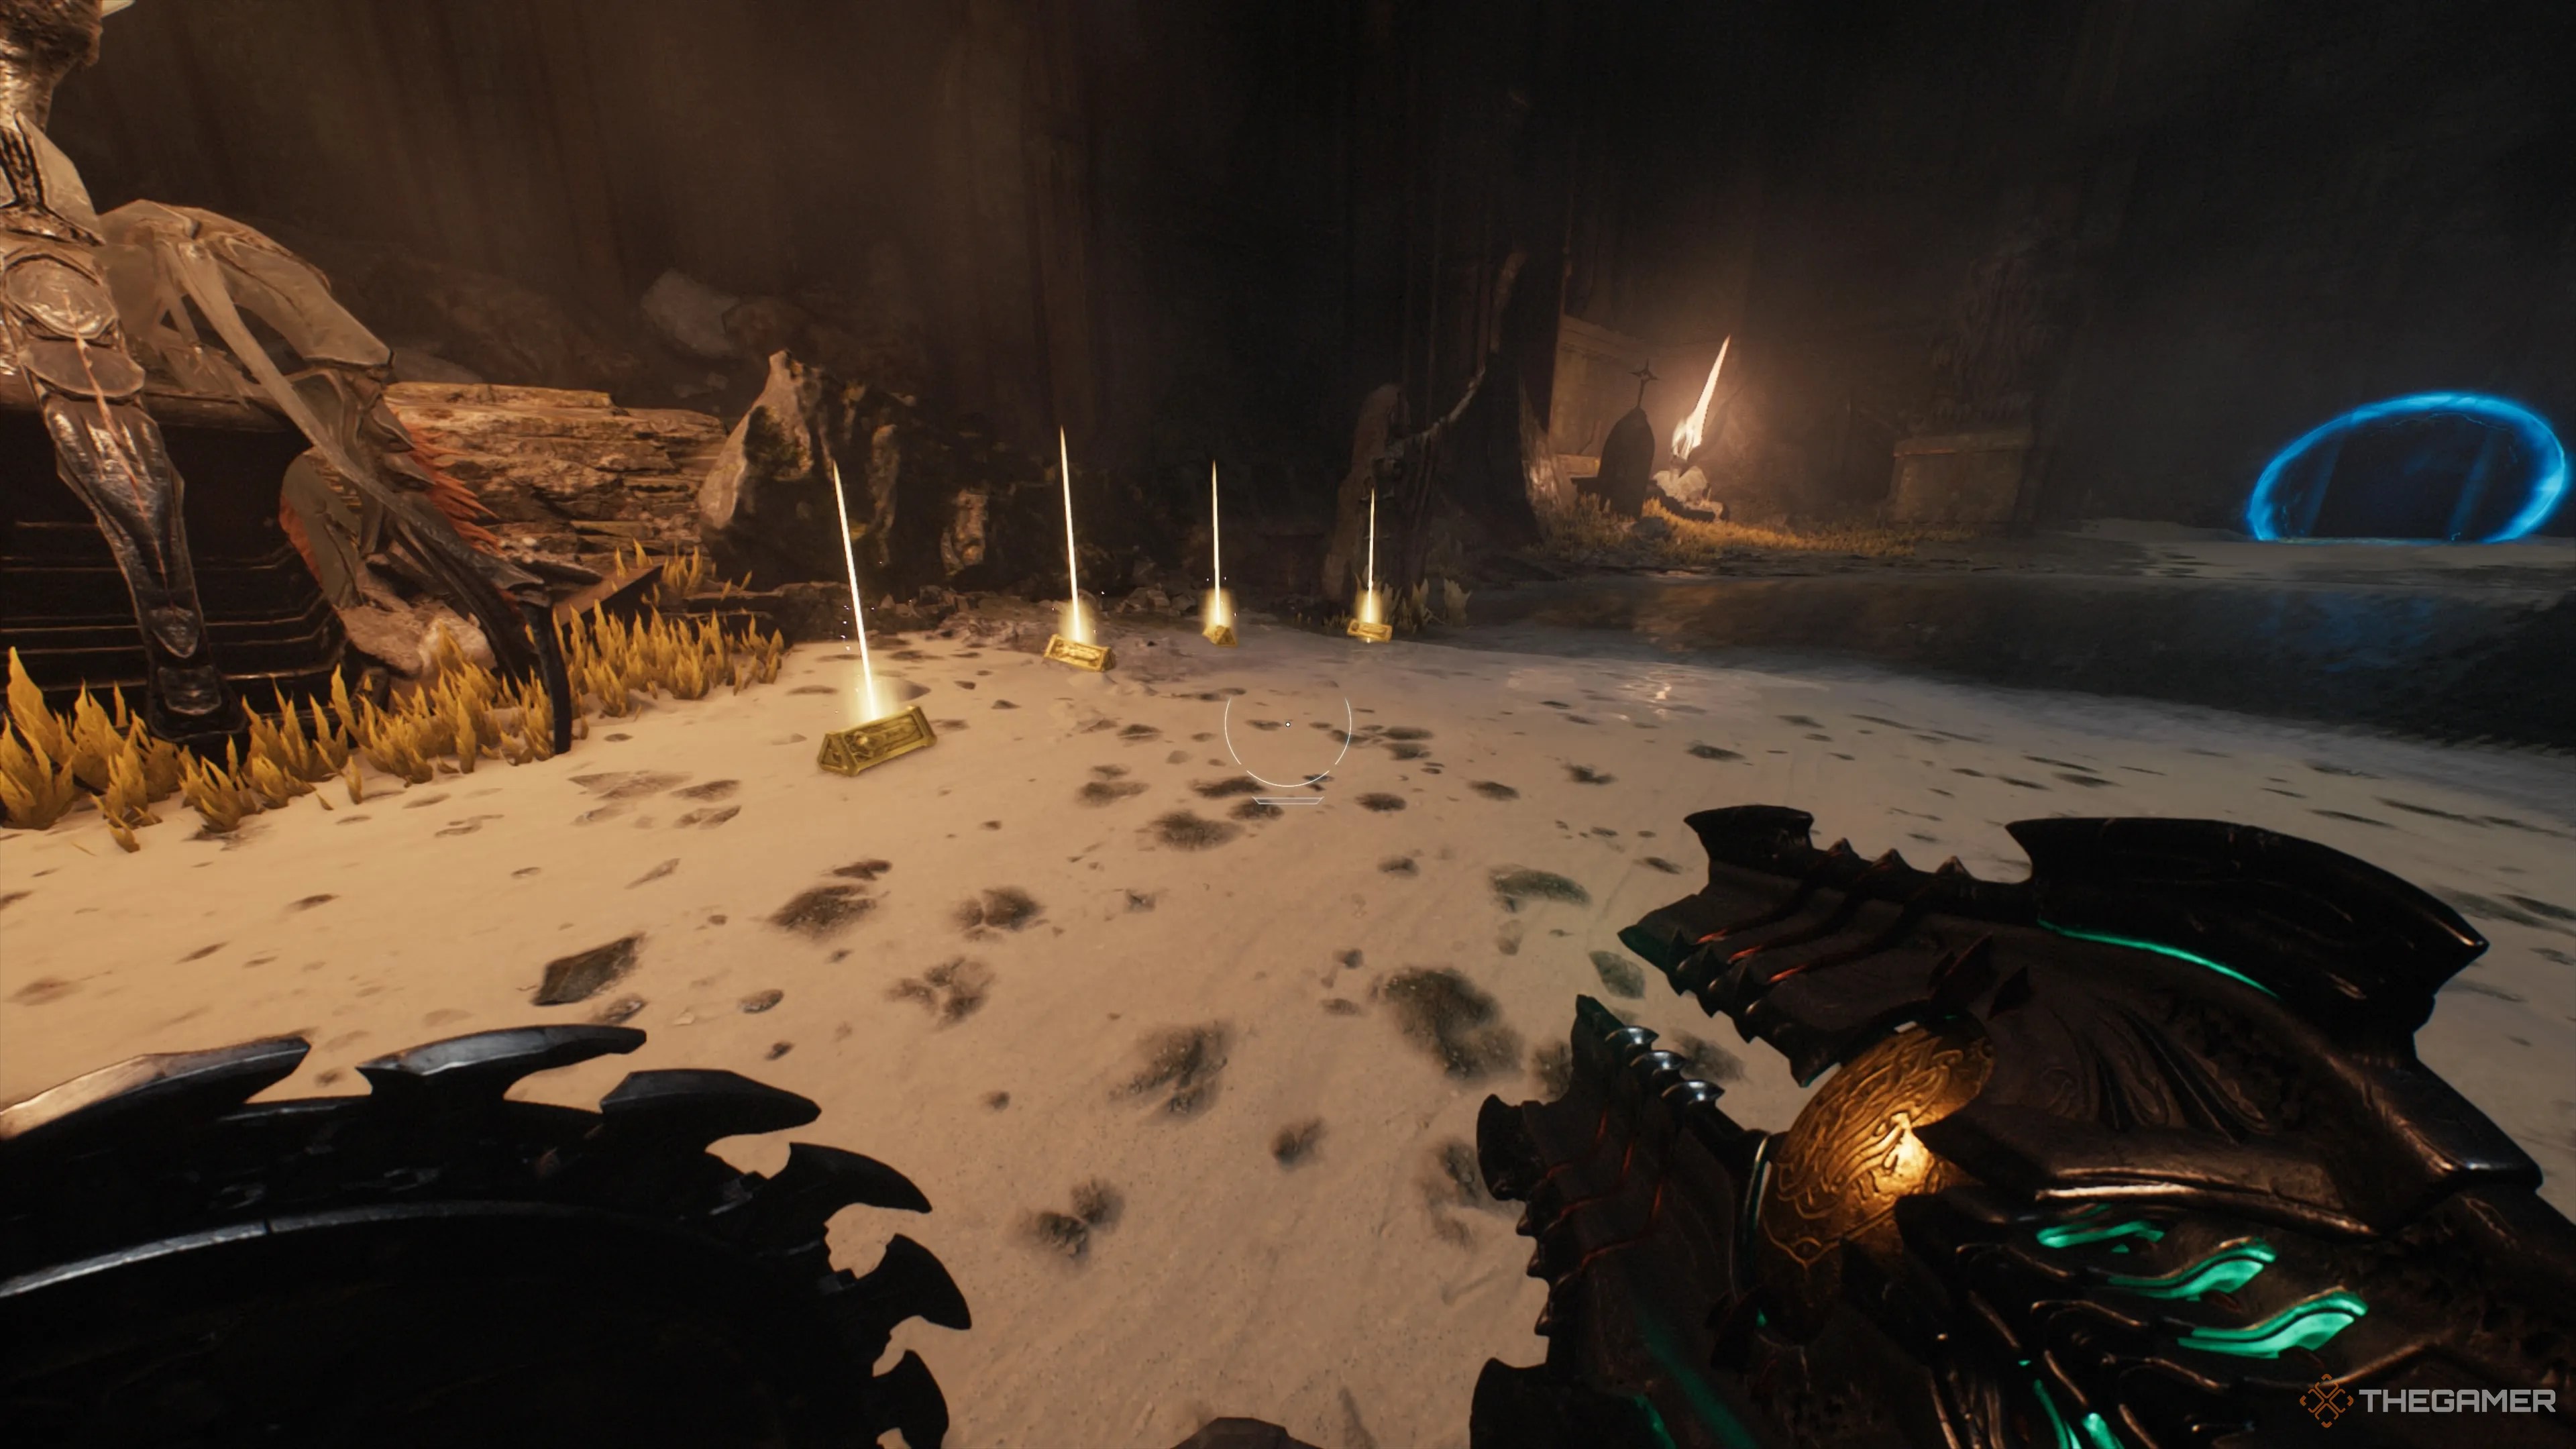
Keep following the trail downward. Keep to the left, as there is a trail of gold. You’ll eventually cross over a small bridge (with a little gold beside it) and into the final section - where the Stasis Emitter is located. If you head forward, you’ll fight a Vagary demon and a Revenant demon. However, before you do so,head to the left after the bridge and you’ll find a tiny landmass. This is where the Codex is hiding (alongside some gold).
Once you’ve collected everything, head to the top, pull the lever, and then head back to the bridge where you’ll find the Stasis Emitter.
The Emitter On The Bottom Of The Spire
This is, by far, the easiest Signal Emitter to locate, as it is right at the bottom of the spire. Just fly down to the bottom, and you’ll battle another tentacle. Take it out, and you’re able to progress to the third emitter.
The Heaven Splitter Shield Rune
Start by interacting with the Shield Rune pool. This will get you the Heaven Splitter ability. However, before you fool around with it too much, keep your Auto Turret Shield Rune active so that you can complete the “Master Blaster” challenge.
You’ll have to reequip the Auto Turret shield rune, as the Heaven Splitter Rune will be automatically equipped once you obtain it.
The Ruby In The Locked Tower
With your back facing the pad where your dragon landed, jump into the water and dive down.Swim to the right side of the central part of this area, and you should see a massive hole leading downward. Swim into this underwater tunnel, grab the gold, and then evade the fireballs. At the end of the tunnel, swim up a wall, and you will emerge in front of the ruby.
The Life Sigil Next To The Sentinel Shrine
Head up the central bridge so that you can get some gold along the way (the gold is under the bridge). On your right, there will be a trail ofgold leading to a Life Sigil beside the Sentinel Shrine. After you’ve collected all the treasures, fight the Revenant Demonds, Whiplash Demons, and the Battle Knight. Once you get to him, take out the Mancubus Leader. That will send this horde packing.
After you’ve cleared this area, head to the Signal Emitter. Make sure tograb the gold circling it. Once you’ve done that, crush that emitter, and you’ll be able to move on.
The Final Area In The Spire Of Nerathul
Once you’ve shut down the three Signal Emitters, you’ll be able to access a landing platform up above where you will be able to pick up a ton of gold. Once you set down,make sure to scoop up all that gold lining the pathway.
The Revenant Toy
From the landing pad, take a left, and follow the path down and around. Collecting gold as you go. Follow the stairs up, take a right to get another pile of gold, then jump across the gap and get to the tower. In the tower, jump on the launch pad to get to the top, then, perform a running leap and hop across the gap.Turn around, and you should see another platformacross the way lined with shield power-ups. Perform another super jump across the gap, then, hop across to that platform with the item in the center of it, and get the Revenant Toy.
Demonic Essence - Ammo
Now, back up to the top of the tower, lead across the gap again, and this time follow it into the chamber. There aretwo Nightmare Imp Stalkerswaiting to ambush you. Take them out, then break through the stone structure. Jump down the hole, and you’ll face aPinky Rider and a Battle Knight. After you defeat them, you’ll fighta Mancubus and an Arachnotron. And, finally, in the third phase, you’ll battlean Agaddon Hunter and a Revenant. Once you kill the Revenant, you will rip out his heart and gain a Demonic Essence that will permanently increase your ammo capacity.
Now, you’ll be guided to a section where you’ll obtain the B.F.C. After you’ve destroyed a whole host of demons, you’ll swing into the deep, rise up, and you’ll start ascending a spiraling stone pathway.
The Gold Locked In A Sealed Room
The first obstacle you’ll encounter is a gated room with piles of gold. Head forward on the path, and you’ll getbehind it, giving you a perfect shot at the superheated chain.Break the chain and swing back around to grab that gold.
The Treasure Chest On The Suspended Stone Platform
Partway up the tower, you’ll see a massive stone platform dangling from a chain. you’re able to climb up and sever it from above, butyou can also get an angle from down below. Once it drops, you’ll be able to get to the treasure chest.
The Gold Hidden Off To The Side
As you climb the tower, you’ll be hopping on multiple launch pads.The second launch pad you takewill leave you facing a health pack. Jump up and over it, and you’ll be in a side area with gold.
The Codex At The Very Top Of The Tower
Once you have reached the very top of the tower, the Codex will be found off to the side.Just follow the main path to the end instead of heading into the circular chamber at the top of the tower.
Be careful not to miss this one, as you are going to have to repeat the entire stage to get back to it if you do.
