Quick Links
The Siege Part 1 mission is easily the most open stage inDoom: The Dark Ages.It has a similar structure to the Holy City of Aratum stage, with you being able to complete the objectives in any order, but with the key difference that the areas between each objective are absolutely packed with stuff to collect.
There is an impressive amount of content to parse in the first section of The Siege, and it is easy to get a little overwhelmed. Thankfully, I’m here to ease your burden. This guide will plot you a course that takes you around this massive map. We’ll show you where every collectible is, every secret, and every speck of gold. By the time this guide is finished, you’ll have seen everything there is to see.

11
513
4
1

2
Skins
After entering this massive battlefield, you may basically choose to go in any direction you so choose. For the sake of simplicity, this guide is going to take you in a giant circle around the battlefield, traveling counterclockwise. Naturally, this means that you can choose to tackle the different objectives in any order. So, feel free to experiment and mix things up.
The First Gore Portal
You travel through the barracks on your way to the battlefield. You’ll eventually run into the fort’s entrance. Here, you’ll get your next weapon: the flail. Now, head straight out the door, and you’ll engage in your first Gore Portal battle. There are two Mancubuses positioned on towers: one to the left, and one dead ahead. Thankfully, there areexplosive canisters piled up beside them. Shoot those canisters to take these Mancubuses out quickly.
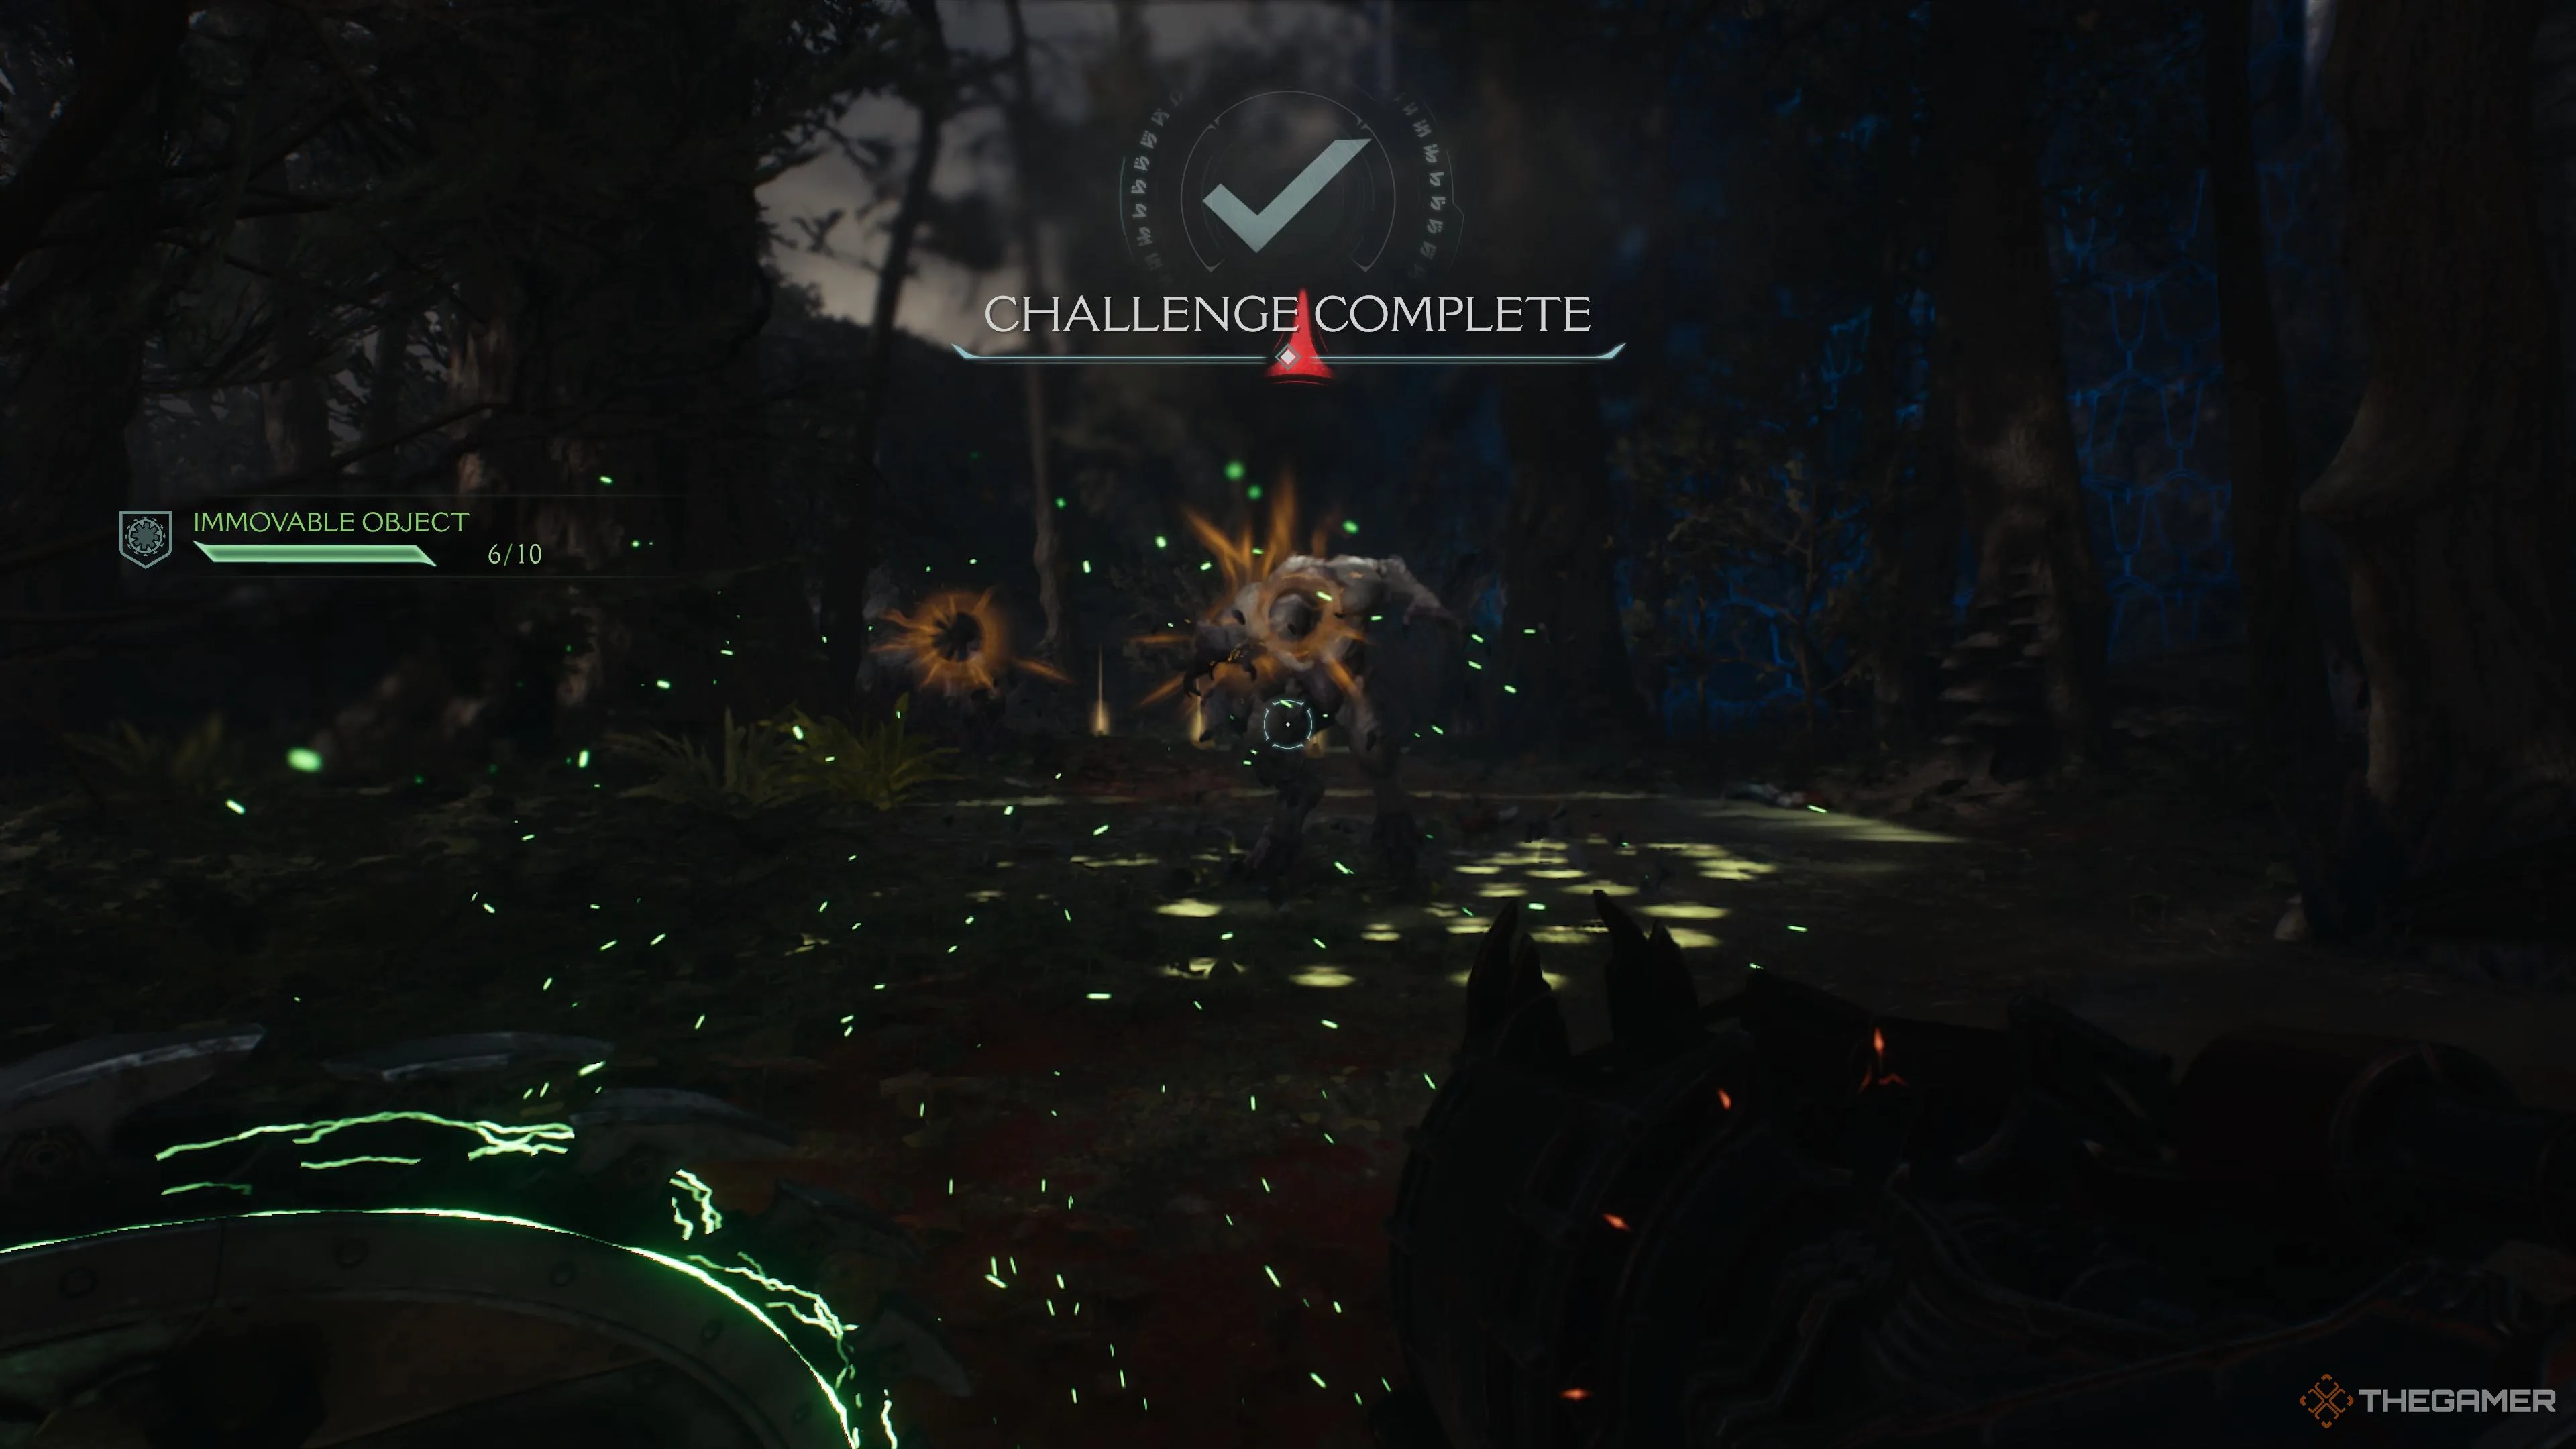
However, that won’t be the end of them. You’ll also need to fighta Pinky Rider, an armored Mancubus, an Arachnotron, and a ton of Shield Soldiers. Once you clear out the battlefield, you’ll have sealed one of the five portals needed to complete the stage. With your back facing the entrance, take a right.

For the purposes of this guide, we’ll nearly always have the perimeter wall facing our right side as we circle this massive stage.
The First Ruby
Take a right once you enter the battlefield. Eventually, you’ll cross a creek and encounter a trail of gold. If you travel west a little, you’ll come acrossa raised area with three wolf statues and Rubysurrounded by a force field.
Throw your shield at these statues to destroy them. Once you’ve destroyed all three wolf statues, that force field protecting the ruby will lower.
The Pile Of Gold
If you follow the aforementioned gold trail, you will find that it leads toanotherpath of gold into a little forested area. Here you’ll be attacked by some weaker demons as well as a Hell Knight. Travel forward a little further, and you’ll have your first encounter with an Arachnotron. These guys are pretty hard to deal with at a distance, but if youShield Rush it and rock it with melee attacks, you’ll take it out pretty quickly. Once you do, you’ll get two piles of gold.
This is a great place to parry the Hell Knight and complete the achievement, as you can draw them out a little and not need to deal with much in the way of other enemies.
The First Gore Portal Puzzle Dungeon
Keep on the path while following the wall on your right. You will end up inan area with a Pinky Rider and a Mancubus on a tower.Kill them, and you will open up a nearby gate which was blocking a cave and a Gore Portal. Jump down, and you’ll need to clear out a few enemies - including a Cyberdemon. Once you do,a portal will open. The area that follows features little in the way of combat, and instead, is a series of platforming puzzles. Head to your right, Shield Rush through a wall, and you’ll find yourself in a room with two stone pillars being suspended by chains.
Break the chain with your shield toss, and scamper up the pillar on the left. Look across the room and you’ll see a corpse to toss your shield into. Perform a shield jump, and then, Shield Rush into the wooden wall, to knock it over, making a bridge.The main path forward is to go forward, but, instead, jump from the bridge and to the right. Follow that path forward to get some more gold. Head back up and around, back onto the bridge, jump across and you’ll reach a lever.

Jump down, and head straight. Dive into the pool of water, swim down and around, avoiding the fire jets as you go, hop out of the water, kill a Hell Knight, and then avoid more fire jets up here as you climb the stairs. Head down the hallway, while avoiding the fireballs,throw your shield into the corpse above, then shield jump up and pull the second lever.
The Gore Portal Puzzle Dungeon Treasure Chest
All there is left to do now is to hop down and enter the central hallway.You’ll find a treasure cheston your way to the main chamber.Open it, and then push forward to find the room with the Cultists. Kill them, and you’ll return to the cave.
The Secret Room With Gold
Keep following that path, circling the map to the right. On your right, embedded in the stone wall,there will be a boarded-up cave.Inside is a pile of gold. Smash through the barricade with your Shield Rush and grab it.
The Treasure Chest In The Tower
There is a treasure chest hidden inside a tower with a root growing up its side. to reach it,head to the flooded area north of itand look for a hole in the ground. Jump into the hole and swim down and around.
The First Artillery Cannon
Stay on the path, following the wall on your right, and you will run headfirst into the first Artillery Cannon (1/4). Take it out, and you’ll be on your way to completing the Siege Breaker Challenge. Keep heading forward, andat the next fork you’ll be near another Gore Portal.
Gore Portal - Armor Capacity Upgrade
At the fork in the road north of the Artillery Cannon, take a left, and you’ll enter a massive arena. You’ll fight waves ofImps, Imp Stalkers, Shield Soldiers, Hell Knights, Pinky Riders, and a Cyber Demon. There is a Mancubus on a tower near the Pinky Rider Champion as well. The game will introduce you to the Morale Meter, which is the green bar at the top of the screen. Once it is empty, the leader will be vulnerable. At which point you’re able to kill them and obtain apermanent Armor Upgrade.
Life Sigil
Once you’ve cleared the battlefield, head north. After killing a bunch of Shield Soldiers and an Arachnotron, and taking out a few tanks, you’ll find a Sentinel Shrine there. If youhead northwest of the shrine, you’ll find a trail of gold that leads to a Life Sigil.
While this path is littered with demonic tentacles that rise from the ground and slap you, they are all parryable. The moment you see the wind up for a whip, hit your shield button.

The First Codex
Head back to the Sentinel Shrine. This time,go east, hook around the southern corner of the rock wall, and you’ll encounter a climbable wall. Scamper up it, and you’ll be facing a path of gold that will lead you to a Codex. Hop down, and head north (past the Sentinel Shrine again).
Mancubus Toy And Treasure Chest
You’ll eventually run into another climbable wall. At the top of it there will be another tank. Take right, and you’ll find a Mancubus Toy under a massive statue. Head north while keeping right. You’ll encounter anotherVagary Demon. Kill it to unlock the nearby treasure chest.
The Secret Key And Slayer Toy
Once you’ve beaten the Vagary Demon, and opened the chest, we’ll take a little detour. Head west. Keep going until you encounter a couple of Mancubuses. There should be asecret key up on a hill above you on your left. It is under a stone arch. Grab it, then head northwest. Not long after getting the key,you’ll find a locked gate that can be opened with a Secret Keyon your right. Unlock it and grab the Slayer Toy. Head north until you encounter a trail of gold on your left. Follow it, hook around, and head south.
The Life Sigil Under The Massive Statue
When you are below the Secret Key, stay a little south, and hook around. This will lead you directly to a pile of gold. Now, head south, and you’ll see another massive statue (this isparallel to the statue where you found the Mancubus Toy). Just like the action figure, you’ll find a Life Sigil under the legs of the statue.
The Ruby In The Cave
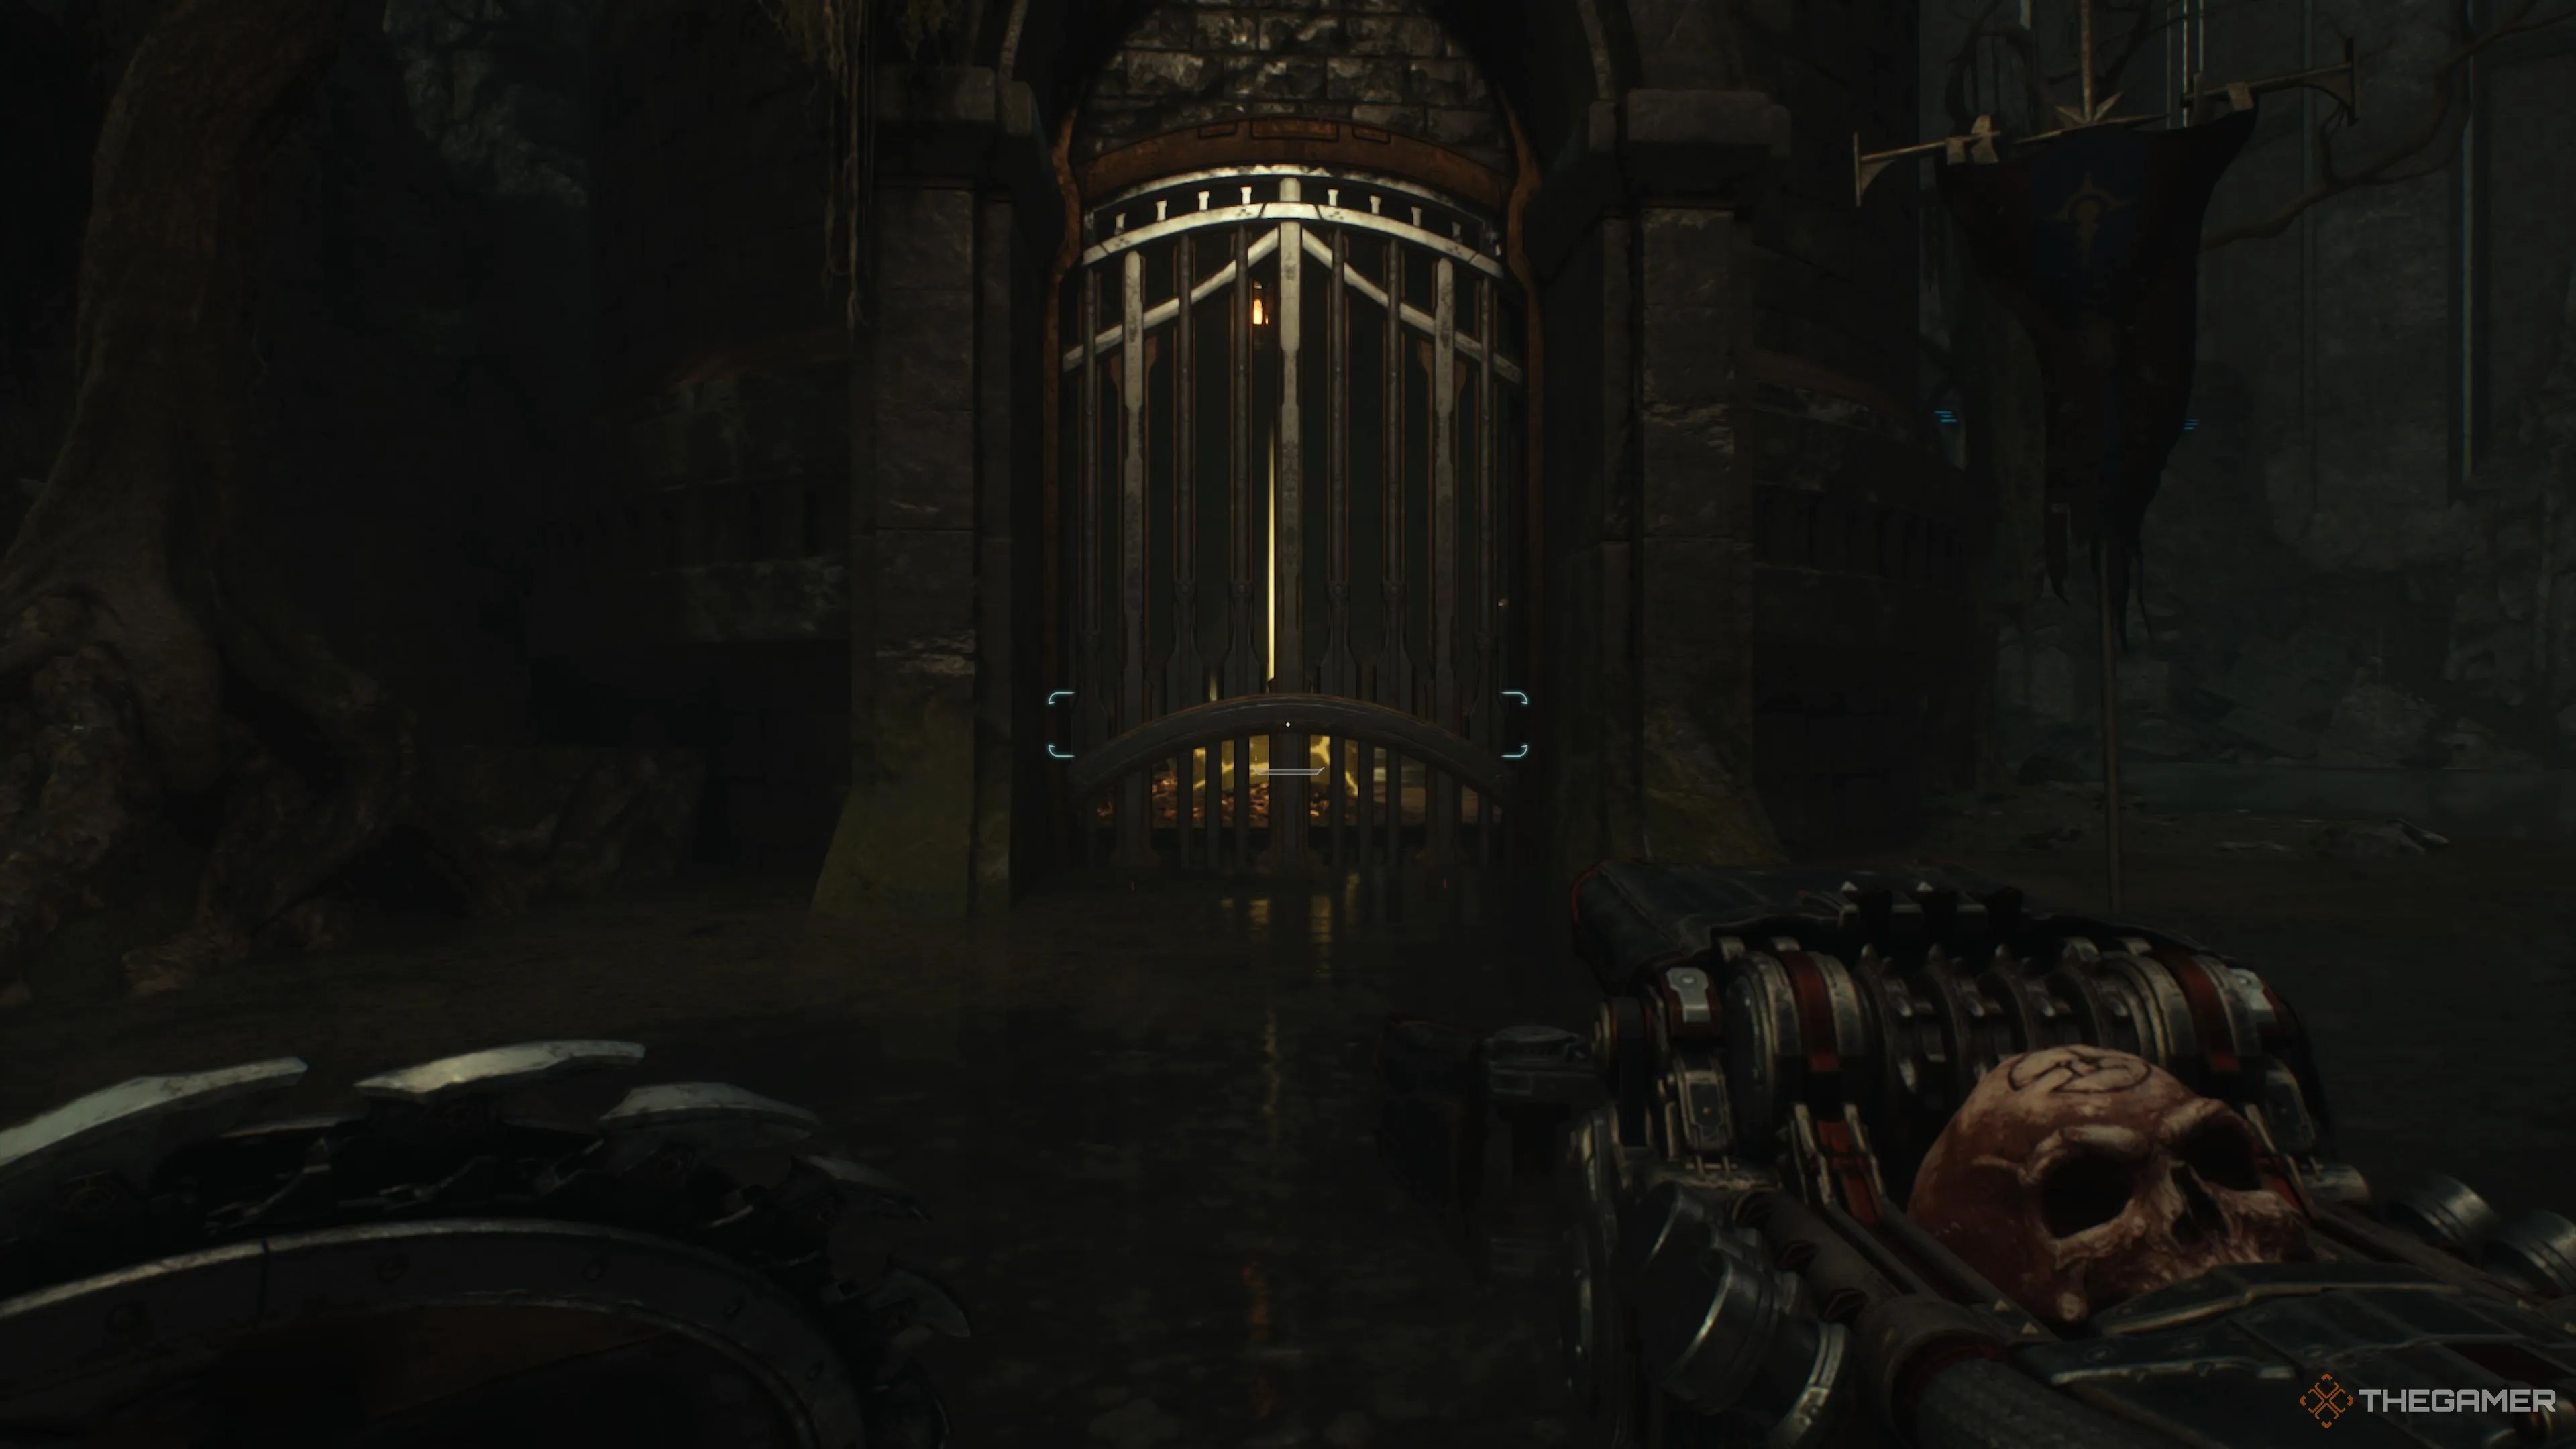
Head northeast, past the key, and enter the cave, and you will be in a massive cave. There is a lift suspended above you. On your right is a locked room that requires the Secret Key. Inside that room, you’ll find another Ruby.
The Treasure Chest Outside The Cave
Head to the back of the room, grab the gold, and throw your shield into the glowing corpse above. Use your shield jump to get up there. Jump onto the lift and grab the pile of gold. The platform will lower, opening the gate on the south wall. Enter that room, gather the gold,jump onto the massive box, then leap onto the climbable wall.
Once you get to the top, take a left, and Shield Rush through the barricade. There is a pile of gold back here. Now, run down the hallway, past the turret shots. Grab the gold on the path. At the end of it, there is a treasure chest. Break it open,but don’t jump down yet!There is a codex page nearby.

Codex Page
Head back to the cave entrance you exited out of. Now, with your back facing said cave, you should be facing a Codex.Perform a running jump across the gap, andyou’ll be able to make it to the area with that Codex page.
If you fail the running jump, and fall, you canjust barelymake it up from down below with a running jump. However, while I was able to make this jump once, I also got stuck trying once. So, be warned, it is possible, but you risk softlocking your game and needing to restart from the last checkpoint.
The Central Gore Portal Puzzle Dungeon
Continue around the side and fight two Arachnotrons. This will open up the path on your left. Follow it to seal another Gore Portal. You’ll drop into a pretty small room where you’ll fight Imps and Hell Knights. Watch out,there are explosives lining the room, so a stray shot could light you up. Shoot the explosive canisters on the other end of the room, then once they have been removed, make your stand there. That way you won’t accidentally blow yourself up.
verify to use the remaining explosive canisters to take out demons as they appear.
After you clear out the demons, a portal will open. Enter it. This is thesecondpuzzle area. Once you reach the big button, take a left. Throw your shield into the glowing gear above. Enter the next area, take a left and pull the lever that’s beside a coffin. Stand on the button, revealing the super-heated chain above. Break it with your shield toss.
The Gore Portal Puzzle Dungeon - Life Sigil
Enter the main chamber and take a left. Pull the next lever here and you’ll activate a launching pad. Jump on it to get to the level above.There’s a Life Sigil up here. Stand on the button and throw your shield at the next chain revealed. Jump to your left, and you’ll be able to recharge all your ammo.
The Gore Portal Puzzle Dungeon - Chainshot Gun
Hop down into the main chamber and look for the box next to the stone structure. Climb them like stairs and drop into the next room. Shatter another chain with your shield. And slam through the wall with the insignia on it with your Shield Rush. Grab the gold. Enter through the gate you just opened, stand on the button, and sever the final chain. You’llget the Chainshot gunas a reward for all your hard work.
The Gore Portal Puzzle Dungeon - Treasure Chest
An Imp Stalker and a few soldier demons will show up, kill them, and then move intothe next room and smash open the treasure chest.Kill the cultists, and you’ll be back in the area with the explosive canisters. Head through the raised gate andgrab the pile of gold.
The Artillery Cannon Defended By A Pinky Rider
Travel further up the right side, and you’ll run into aPinky Rider Demon Leader surrounded by Shield Soldiers.You’ll encounter a turret just a little past that demon squad. Keep heading down the right path. You’ll reach a Sentinel Shrine, and nearby is a portal as well as a Vagary Demon. Following the right path further, there is a trail of gold and two tanks.
Northmost Portal
Look to your right and up. Throw your shield at the glowing, blue gear. This will open a room with three pieces of gold, and a wall that you can Shield Rush through. Kill the Hell Knight, collect the gold, and smash through another wall with your Shield Rush. This will slam a large block to the other side of the main room. Climb up it, and grab the gold up above. Pull the lever to gain access to the battlefield map, and then Shield Slam through another wall to access a Treasure Chest. Climb back up and out through the gates you opened earlier.
Permanent Stake Ammo Increase
Since we are here, we may as well close the Gore Portal. This encounter has two Mancubuses on towers. The Demon Leader is also a Mancubus themselves. Once again, circle the arena blasting as you go. Once you encounter the Cyberdemon you are on the last wave. After taking them out, you’ll just need to take care of a few Hell Knights and track down any stragglers. Once you take the heart from the Mancubusyou’ll get an upgrade to your steak weapon ammo(that’s for the Impaler and the Shredder).
The Gold In The Back Of The Arena
Once you’ve cleared out the arena near the Gore Portal, there is also a fleshy alleyway in the back of this arena where you’ll find a pile of gold. So, grab that, then, head back to where you were before you entered the arena in the first place.
Impaler Nightmare Skin
Continue forward, following the path. You’ll now be traveling down the left side of the arena in reverse. The first clearing will be a battles against a few Arachnotrons (being backed by fodder). Once you’ve cleared them out, scale the climbable wall in the corner. This will take you to the next secret area.
Take a left once you enter into the cave, and you’ll encounter a treasure trail. At the end of it is a locked gate thatrequires the Secret Key. You should have already gotten that a little earlier(it is in the center of the map). Open the gate and get the Nightmare Skin for the Impaler.
The Submerged Ruby
Dive into the water and take a left. Swim up, grab the treasure, then climb the wall. You’ll see a barricade that you can Shield Rush through, but watch out, it is guarded by tentacles. Take them out, smash through the barricade, and then freeze the gear above with your shield.Jump over the water to the gold, follow it to a switch, and pull it.
Now, jump into the water, swim down, enter the chamber, and grab the ruby. Once you’ve grabbed it, headback to the west side of the map, and follow the wall on your right back south toward the exit.
The Final Artillery Cannon
From the Submerged Ruby, stick to the path, follow south, and hook right. There will be a trail of gold leading up a ramp. Shield Rush through the barricade up above. Once you smash through it, you’ll need to kill some Imp Stalkers, and you’ll be able to destroy the final Artillery Cannon.This should complete the challengefor you. Once the cannon is destroyed, you’ll get another pile of gold. Continue on the path heading south back to the entrance.
The Final Ruby
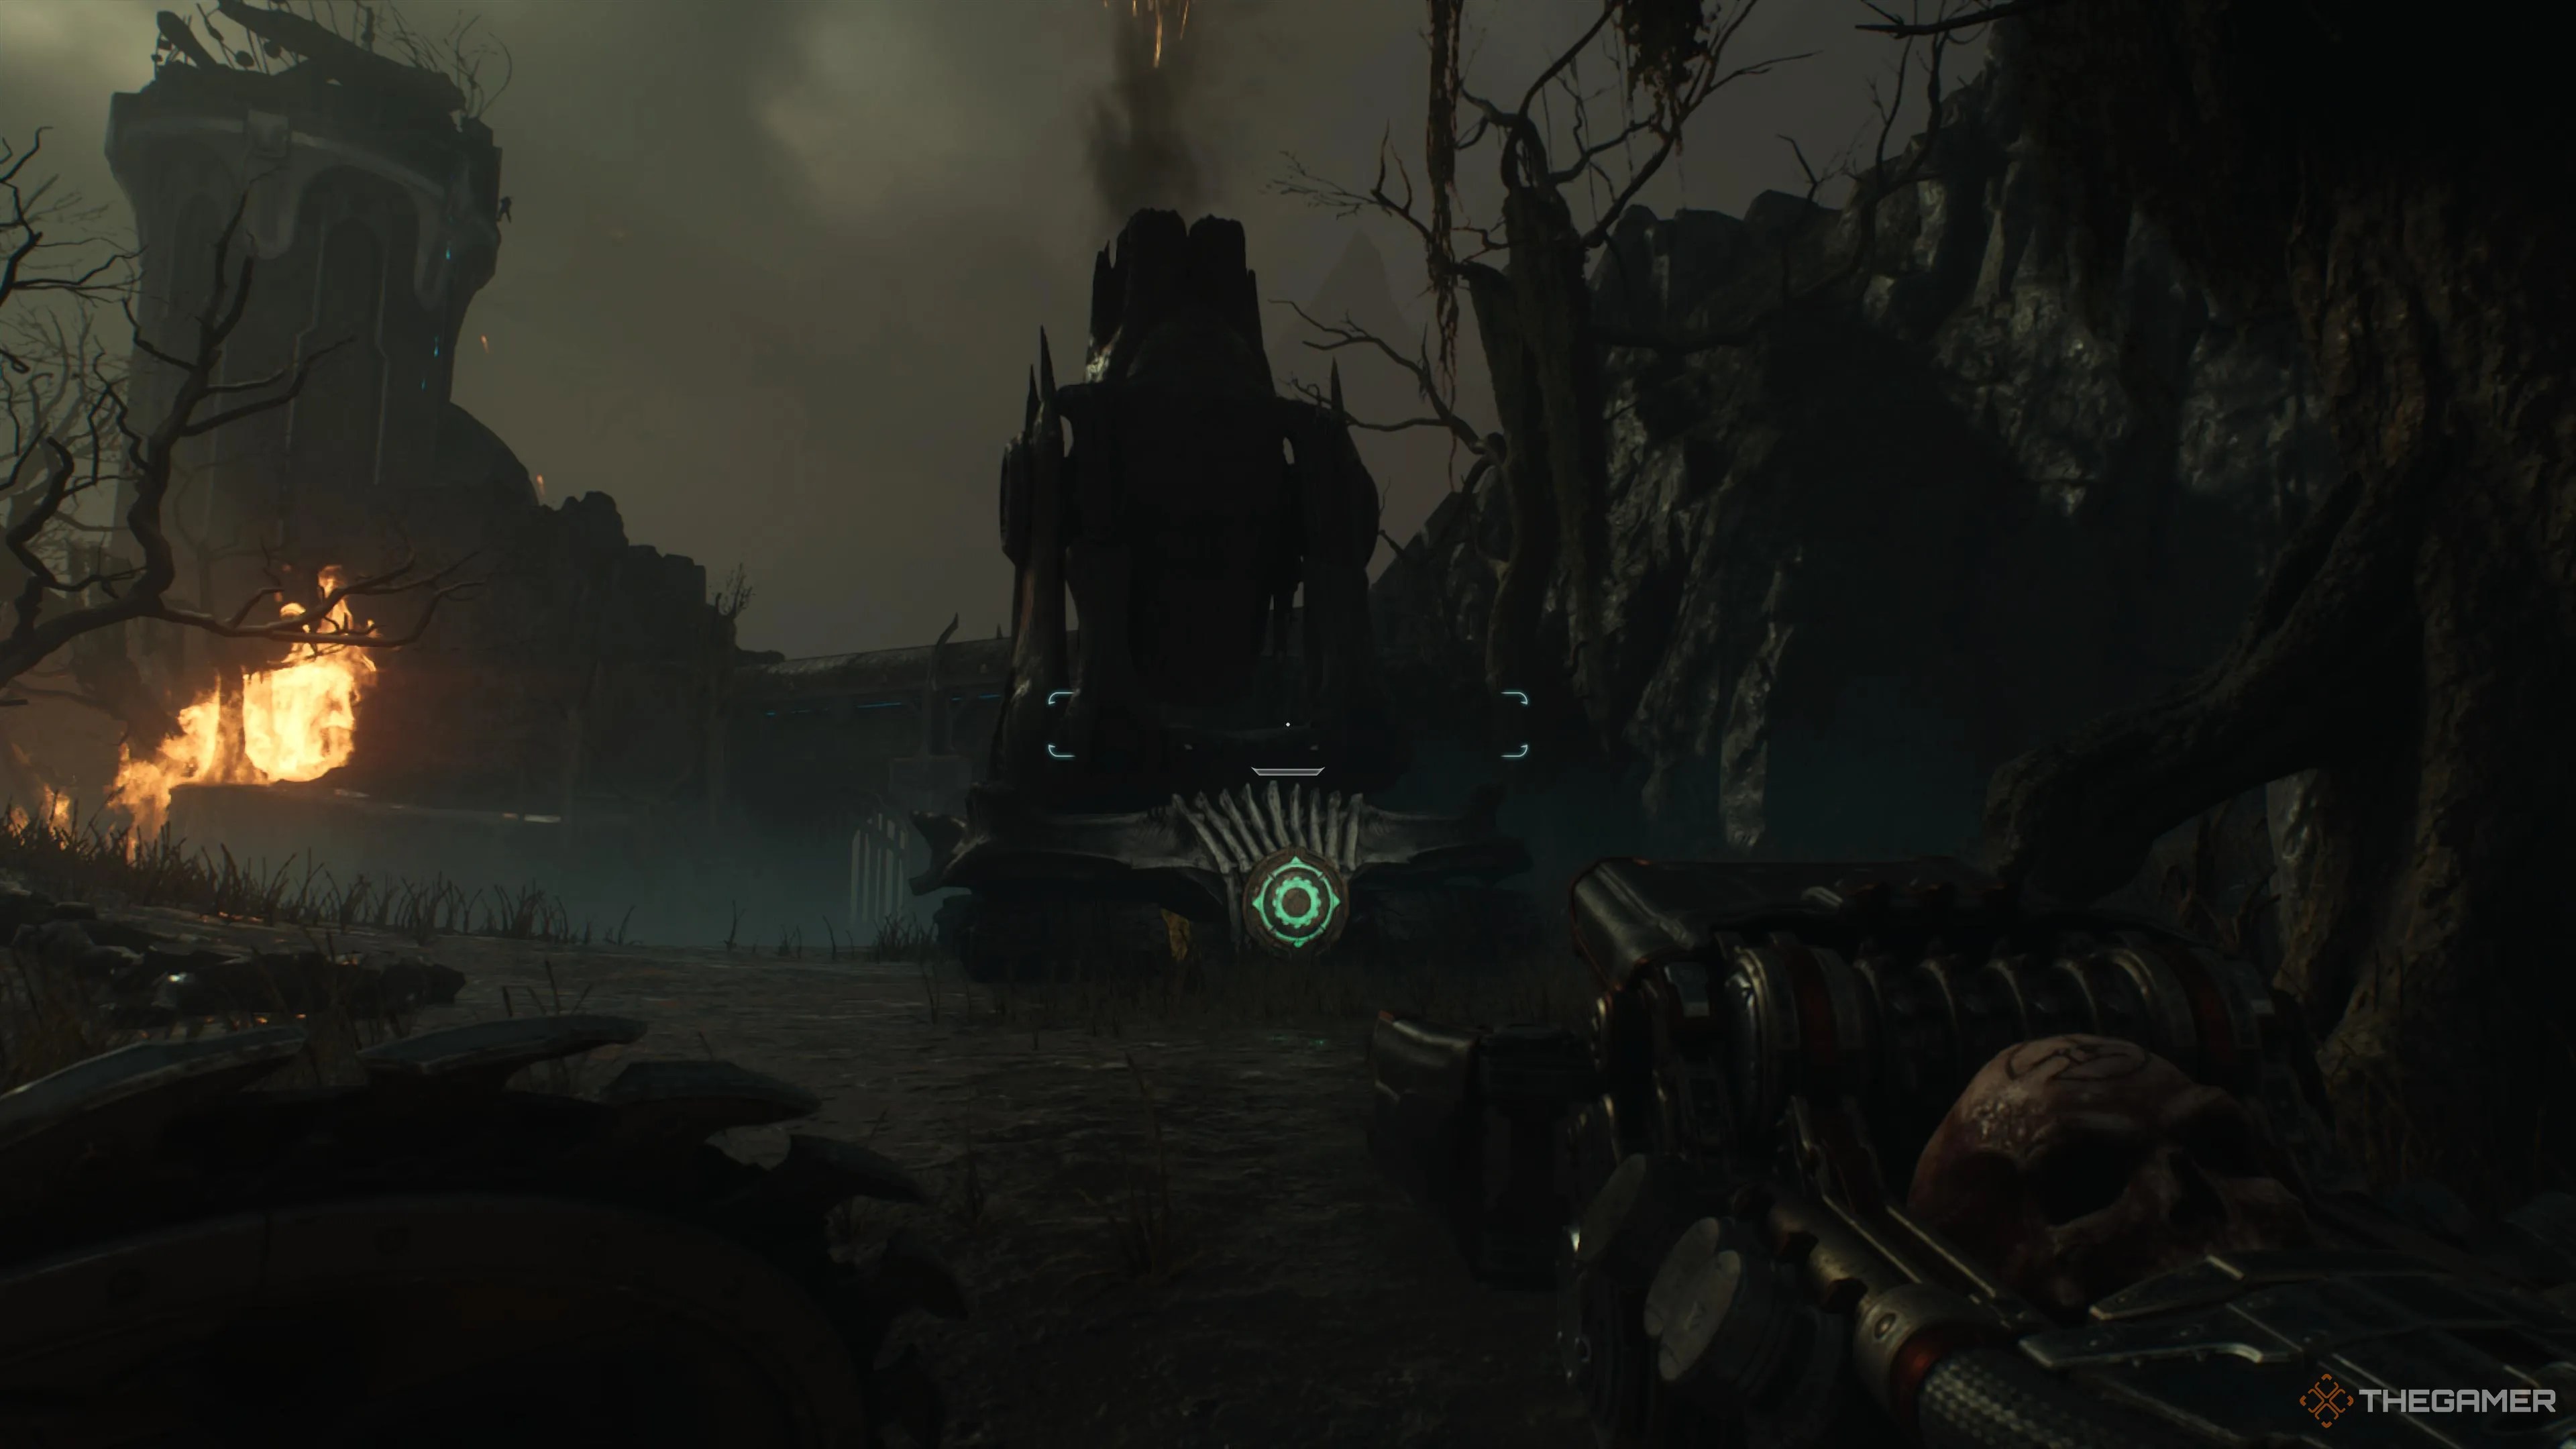
Not far from the Artillery Cannon, you’ll find a path of gold. If you follow that path down and around, you’ll be led directly to a demonic tree. Nearby is a Ruby. The one is guarded by a force field. In order to break it, you’ll need toperform a Shield Charge on the tree, smashing it and triggering a wave of demons to attack. You’ll now be trapped in this area while fighting the aforementioned demons. You’ll need to killSoldier Demons, Pinky Riders, and a Mancubus.Once you’ve defeated them, the force field will drop, and you’ll be able to grab the Ruby.
The Last Life Sigil
You’ll encounter a tank. Take it out, and you’ll be able to graba small pile of gold. That should be the last bit of gold you need to getall 513 pieces. Follow the wall around, and you’ll dip into a little nook with a small pond and a little waterfall.
Nestled beside it is the last Life Sigil. All that remains of the stage now is a few tanks, and then you’ll be back to the opening. Which, conveniently, is also where the end of the stage is. Just keep following the wall on your right, as you have been,head past the entrance, and you’ll run into a boarded-up hole in the wall. Shield Charge through it and you’ll complete the stage.
This is the point of no return. verify to open the menu and check to see if you have acquired every secret. Once you head through the hole in the wall, you won’t be able to backtrack without repeating the stage.
